

Good small fridge organization is not a contest to fit the most food behind a closed door. It is a system for storing less, seeing more, protecting cold-air circulation, and moving perishable food into meals before it is forgotten.
In an apartment-size refrigerator, one deep bin can hide half a shelf and one large grocery trip can erase every zone. The most useful setup combines a visible physical layout with a lightweight record of what to use, keep, and buy.
This guide covers compact household refrigerators in apartments, rentals, and smaller kitchens. Dorm units and beverage coolers need model-specific guidance.

Why Small Fridge Organization Starts With Food Visibility
A small refrigerator works best when it protects visibility and turnover instead of maximizing packing density. If you have to unload the front row to identify the back row, the fridge is already working against you.
Why Small Fridges Fail: Food Gets Hidden Before It Gets Used
An overfilled shelf blocks labels, makes leftovers hard to reach, crushes delicate produce, and leaves no space for tonight's extra serving. It can also prompt duplicate buying because food at the back no longer looks available.
The FDA's refrigerator guidance says to keep a refrigerator at 40°F (4°C) or below and avoid overpacking because cold air needs to circulate. Keep vents clear, use an appliance thermometer, and follow your model's manual.
Use this visibility-first comparison when deciding whether a shelf is organized:
|
Question |
Density-first setup |
Visibility-first setup |
|
Can you identify food quickly? |
Labels sit behind other items |
Labels face forward within easy reach |
|
Can cold air move? |
Packages fill gaps and may crowd vents |
Vent paths and small gaps remain open |
|
Can leftovers arrive tonight? |
New containers trigger a reshuffle |
One buffer space receives them |
|
Can older food move forward? |
Stacks must be dismantled |
Older items move to the front |
|
Do organizers earn their space? |
Every category gets a bin |
Bins must improve access, stacking, or spill control |
The goal is enough open structure that every item has a visible route into a meal.
Apartment refrigerators are not dorm mini fridges
This system assumes a household refrigerator with shelves, a door, and a produce drawer. A dorm unit may lack stable zones or a true freezer, while a beverage cooler may not be approved for perishables. Check the temperature and manual instead of treating either like a full refrigerator.
Measure Before You Buy Fridge Organizer Bins
Emptying, editing, and measuring the refrigerator will create a more reliable layout than buying containers first. A bin that consumes clearance or blocks a vent is not a storage upgrade.
Sort food before restockingchang
Move perishables to a cooler if the job will take more than a few minutes, then sort everything into five groups:
- Keep:safe food with a likely use.
- Eat first:opened items, short-lived produce, and leftovers.
- Freeze:food you will not use within its safe refrigerated window.
- Relocate:shelf-stable items occupying cold space.
- Discard:spoiled, leaking, or unsafely handled food.
Do not use a printed date as the only signal. Read the package instructions and use food expiration-date guidance alongside storage history, temperature, condition, and official item-specific advice. When safety is uncertain, choose the cautious option.
Record usable space, not advertised capacity
Measure between shelf supports, not at the cavity's widest point. Test door closure with tall containers, pull out the produce drawer, and mark vents, lights, hinges, and curves that reduce usable space.
The following Before You Buy a Bin measurement card is an illustrative template. Fill it with your own dimensions and appliance instructions before shopping.
|
Measurement or check |
What to record |
Why it changes the purchase |
|
Shelf width |
Narrowest width between supports |
A bin must slide out easily |
|
Shelf depth |
Front edge to safe back limit |
Deep bins hide food or crowd vents |
|
Vertical clearance |
Shelf to obstruction above |
Handles and lids need lifting room |
|
Door clearance |
Space with door closed |
Bottles or handles may collide |
|
Vent and light locations |
No-block zones |
An organizer should not obstruct cooling or illumination |
|
Drawer opening |
Opening and pullout path |
The drawer must still open and lift out |
|
Item to contain |
Exact loose-food or leak problem |
Every organizer needs a named job |
Before relocating unfamiliar food, check item-specific instructions. The USDA-developed FoodKeeper resource covers hundreds of foods and beverages. Broad “never refrigerate” lists can ignore ripeness, packaging, climate, and manufacturer directions.

Organize a Small Refrigerator With Five Clear Zones
Five broad zones give food a predictable home without dividing a small refrigerator into rigid compartments. Base the exact shelf choice on measured temperature, spill risk, vent locations, and the appliance manual.
Put ready-to-eat food where people look first
Give cooked food, opened items, and leftovers a visible shelf section. Label contents and the preparation or opening date. “Chicken, Monday” supports a decision; an opaque mystery box does not.
The federal cold food storage chart lists many cooked leftovers at three to four days when refrigerated at 40°F or below. Poor handling, power loss, or spoilage can shorten that window.
Group only the next few meals
Group ingredients for the next three to five days only when it saves searching. One removable meal bin may help; several recipe bins usually consume too much space when plans change.
Make the Eat First zone impossible to miss
Reserve the front of a visible safe shelf for food with the shortest useful window. Keep the zone small enough to scan at a glance and reset twice a week.
Contain raw food below ready-to-eat food
Keep raw meat, poultry, and seafood sealed and separate. Use a leak-catching tray in the lowest suitable location the design allows. The goal is to prevent drips, not impose one map on every appliance.
Use the door according to the manual
Door temperature patterns vary with design and use. Store only items suitable for that location according to their labels and your appliance instructions. Do not treat every door slot as interchangeable cold storage simply because a container fits.
Here is the complete Small-Fridge Visibility Map. It is a planning framework, not a laboratory-tested layout.
|
Zone |
Best use |
Visibility rule |
Safety or capacity check |
|
Ready-to-eat |
Leftovers, opened foods, prepared ingredients |
Face labels forward |
Follow safe storage windows |
|
Next meals |
Ingredients for the next three to five days |
Use one removable group only if it reduces handling |
Do not block vents with a deep bin |
|
Eat First |
Items needing prompt use |
Keep at the front of a visible safe shelf |
Review before planning or shopping |
|
Raw-food safety |
Sealed raw meat, poultry, or seafood |
Keep packages contained |
Place below ready-to-eat food where permitted |
|
Stable door storage |
Label-approved condiments and similar items |
Avoid crowded rails and duplicate bottles |
Follow package and appliance guidance |
Five Space-Saving Tactics That Preserve Sightlines
The best space-saving tools improve access or safe stacking while keeping labels, dates, and vents visible. Judge them by how the fridge works midweek, not how it looks after setup.
1. Use shallow clear bins for loose items
A shallow handled bin can gather cheese sticks, jars, or snack cups. You should be able to pull it out without unloading the shelf. Skip deep bins that create hidden rows.
2. Store compatible packages vertically
Stand sealed flat packages or reliable containers upright when they stay stable and leakproof. Face labels toward the door. Never turn a questionable lid sideways to gain space.
3. Standardize leftover containers
Two or three nesting sizes make stacking predictable and reduce lid clutter. Choose a set that fits your measured shelf and typical portions, and remember that empty containers also occupy space.
4. Use door height deliberately
Adjust rails only if the manufacturer permits it. Group bottles by height, check weight limits, and confirm that the door closes. A moved shelf may eliminate the need for another organizer.
5. Protect one buffer space
Leave a clear landing area for leftovers or an unexpected grocery. Without a buffer, each new container disrupts the layout and pushes older food out of sight. Empty space is functional.
Shop for the Capacity You Actually Have
Plan-based purchasing prevents a compact refrigerator from being overwhelmed. Shopping rhythm varies by household, transport, budget, and schedule, so match quantities to realistic uses rather than a universal frequency rule.
Plan three to five days at a time
Look at the schedule, the Eat First zone, and food on hand. Plan the next few dinners plus likely leftovers. Two late evenings may call for one cooked meal, one leftover night, and one freezer option.
Give each perishable a job
Write quantities and uses: “six apples for snacks” is more useful than “fruit,” while “spinach for Tuesday pasta and Wednesday eggs” beats “greens.” A named use exposes oversized multi-packs.
Check space before checkout
Open a current photo or inventory note while shopping. Check for duplicates, unfinished packages, and a landing spot for leftovers. This habit belongs inside a household food-waste system that connects purchasing, meals, leftovers, and storage.
Build a Small Fridge Food Inventory That Stays Useful
Track only the information that prevents missed food or duplicate purchases. A small fridge does not need a detailed database if a three-line note keeps the household oriented.
Start with Eat First, Have, and Buy
Use three headings on a fridge note or shared list. “Eat First” names short-window foods, “Have” records easy-to-forget items, and “Buy” holds gaps tied to planned uses. Reset the note before shopping instead of maintaining a permanent catalog.
Photos and apps still need updates
A phone photo helps at the store but goes stale as food moves. An app supports shared updates and reminders but adds entry work. Choose the simplest method the household will refresh after shopping, cooking, freezing, or finishing food.
A shared display helps coordination, not capacity
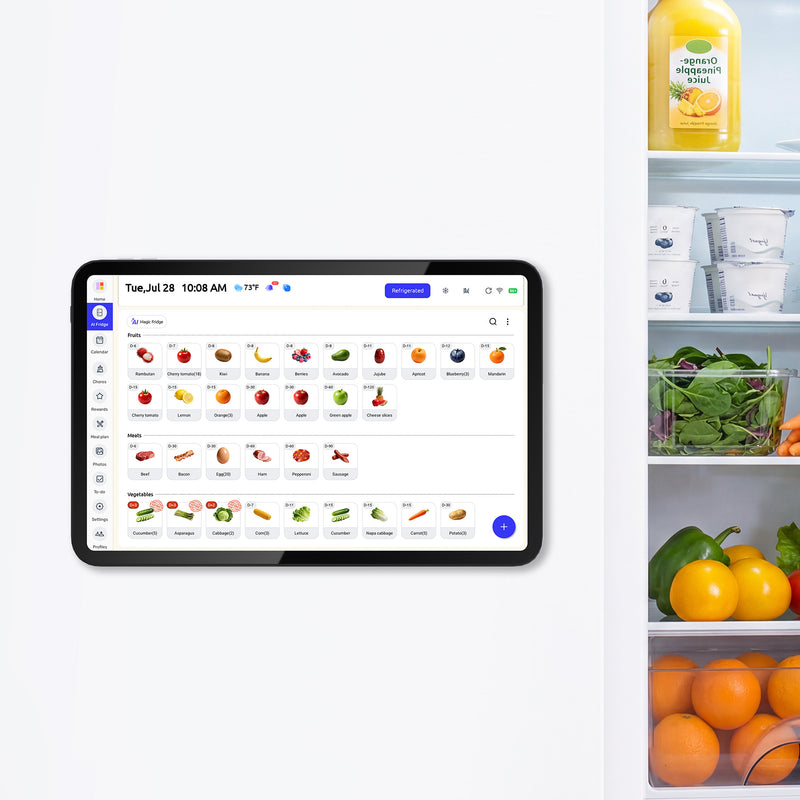
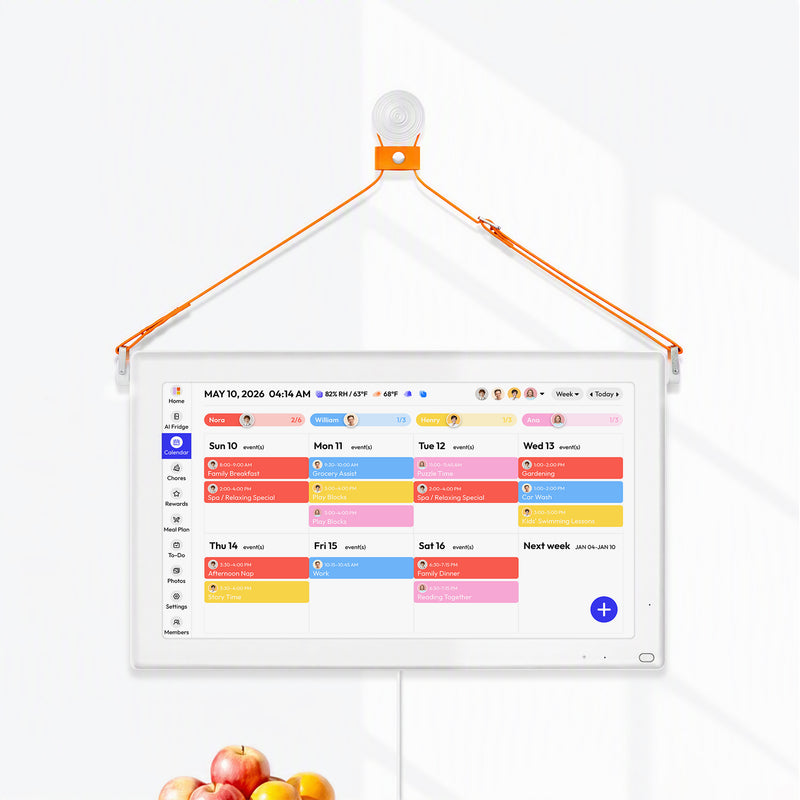
A digital layer makes sense when several people shop, plans change, duplicates recur, or one person holds all the food information. A fridge-mounted food-management display can put inventory, expiration information, meals, and lists on a shared surface with access away from home.
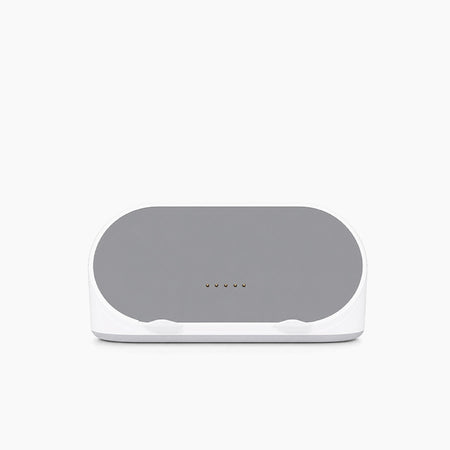
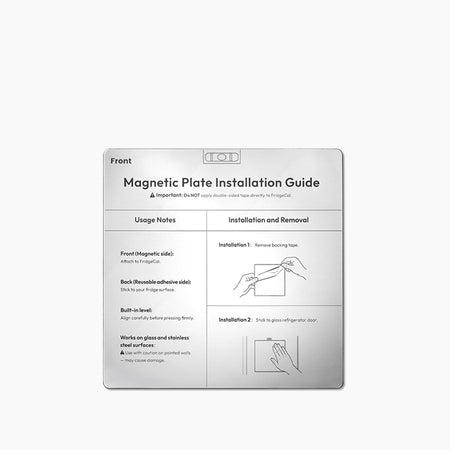
It cannot enlarge the refrigerator, correct unsafe storage, or record changes by itself. Consider door footprint, mounting, charging, Wi-Fi, setup, cost, and data upkeep. For one shopper with a tiny visible inventory, paper may be better.
|
Household situation |
Best starting layer |
Main advantage |
Main limitation |
|
One shopper, very small inventory |
Eat First / Have / Buy note |
Fast and visible |
Needs a photo for remote use |
|
One shopper who checks the fridge at the store |
Current phone photo |
Almost no setup |
Becomes inaccurate after food moves |
|
Multiple reliable updaters |
Shared list or inventory app |
Remote access and shared edits |
Requires consistent logging |
|
Changing meals; one information holder |
Shared display plus app |
Home visibility and remote reference |
Uses space and adds device upkeep |
|
Chronic overbuying despite accurate records |
Smaller purchase quantities |
Addresses the capacity mismatch directly |
Requires changing shopping habits |
Maintain the System With a Five-Minute Reset
A small fridge stays usable through brief, frequent resets rather than occasional full reorganizations. Attach the routine to grocery day and one midweek meal decision.
Rotate food when groceries arrive
Spend two minutes moving older compatible food forward, labeling leftovers or opened items, and placing new purchases behind them. Never preserve rotation by moving food into an unsafe zone.
Run a midweek use-first check
Spend two minutes reviewing the Eat First zone. Choose a meal that uses it, then freeze suitable food that will not be used within a safe window.
Remove containers that do not earn their space
Use the final minute to notice friction. Retire a bin if it stays half empty, blocks a vent, hides labels, or requires unloading. Recheck the measurement card before replacing it.
Visibility keeps the next shopping trip from undoing the layout.
Frequently Asked Questions
These answers cover common small-fridge constraints while allowing for different appliance designs.
How do I organize a small refrigerator with one crisper drawer?
Use the drawer according to its controls and manual, then keep remaining produce visible in suitable shelf containers. Put quick-use produce in the easiest-to-see position.
Are organizer bins worth it in a small fridge?
Yes, when a measured bin improves access, stable stacking, or leak control. Skip organizers that block airflow, create a hidden row, or consume excessive space.
How full should a small fridge be?
There is no useful universal fullness percentage. Keep enough open space for air circulation, clear vents, visible food, and one new container.
How do I stop food from getting lost in the back?
Avoid double-depth rows, use shallow zones, face labels forward, and keep an Eat First area at the front. Review it before planning or shopping.
Can a smart fridge calendar help organize a small kitchen?
A smart fridge calendar cannot increase physical storage space, but it can help households keep inventory, meal plans, and grocery decisions visible when space is limited.
Can a digital fridge display create more space?
No. A digital display can make inventory and priorities visible, but capacity still depends on purchasing, layout, and container fit.
Small fridge organization succeeds when the interior layout and household food decisions match. Measure first, protect five flexible zones, buy for the next few meals, and keep one short priority list. Start by clearing a buffer space and choosing three foods for the Eat First zone. That reset will reveal whether you need a container, a shopping change, or a better shared record.


