





You can eat balanced, repeatable meals during a remodel with just a microwave and air fryer if you design around safe temperatures, short storage windows, and shared ingredients.
When your stove is gone, every meal can feel like one more decision you do not have time for. The process gets easier when the plan is simple enough to repeat and strict enough to keep food safe. You will leave with a 5-day menu, a freshness tracker, and a safety checklist you can run in about 10 minutes a day.
Set Up a Safe Temporary Kitchen Zone (Microwave + Air Fryer Essentials)
Home refrigerator temperature should stay below 40°F, and daily thermometer checks in the warmest area of the fridge should be your first setup step.

Food-grade containers reduce contamination risk, so organize your temporary kitchen into three zones:
- Cook zone: microwave + air fryer on a stable surface with open airflow around vents.
- Clean zone: dish bin, sanitizer spray, paper towels, and drying space.
- Cold zone: ready-to-eat foods on top shelves, raw proteins on the bottom shelf.
Overfilling can block airflow and create warm spots, so only keep a 5-day inventory in cold storage.
Plan a Repeatable 5-Day Menu with Shared Ingredients
A repeatable system works better than five unrelated recipes: use two proteins, three vegetables, and two carbs across the week. For one adult, that usually covers about 10 lunches/dinners plus 5 breakfasts in one grocery run.
Day |
Breakfast |
Lunch |
Dinner |
1 |
Microwave oats + banana + peanut butter |
Chicken rice bowl (microwave rice + frozen veggies) |
Air-fryer chicken thighs + broccoli + potatoes |
2 |
Greek yogurt + fruit + granola |
Leftover chicken wrap + salad |
Air-fryer salmon fillet + microwave sweet potato + green beans |
3 |
Microwave egg mug + toast |
Tuna and white bean bowl + crackers |
Chicken and veggie rice bowl (leftovers) |
4 |
Oats + nuts + apple |
Salmon wrap + baby carrots |
Air-fryer turkey meatballs + marinara + microwave pasta cup |
5 |
Yogurt + berries |
Leftover grain bowl |
“Use-it-up” plate: remaining protein, vegetables, and rice/tortilla |
Batch once, then coast: spend 60–75 minutes on Day 0 to portion proteins, prep produce, and label containers so weekday cooking stays under 15 minutes.

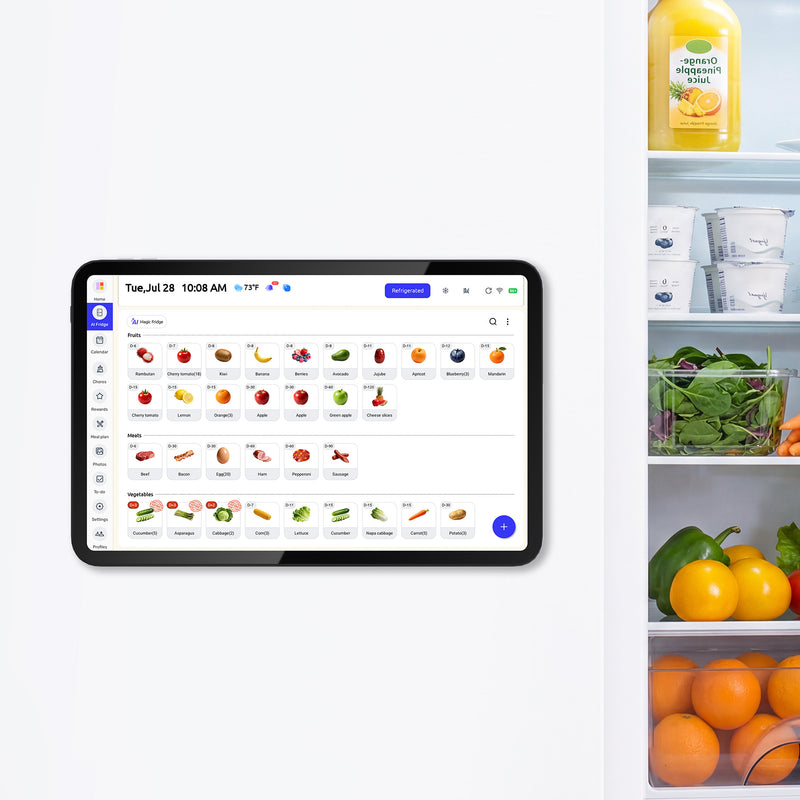
Track Freshness, Leftovers, and Refill Needs (Using a Fridge-Door Tool like Everblog 13.4" FridgeCal)
Most date labels are quality dates, so your system should track opened dates and leftover age, not just package stamps.
Cooked leftovers are generally 3–4 days in the fridge, so use a fridge-door log with four columns: Item, Opened/Cooked, Use By, Refill Trigger.
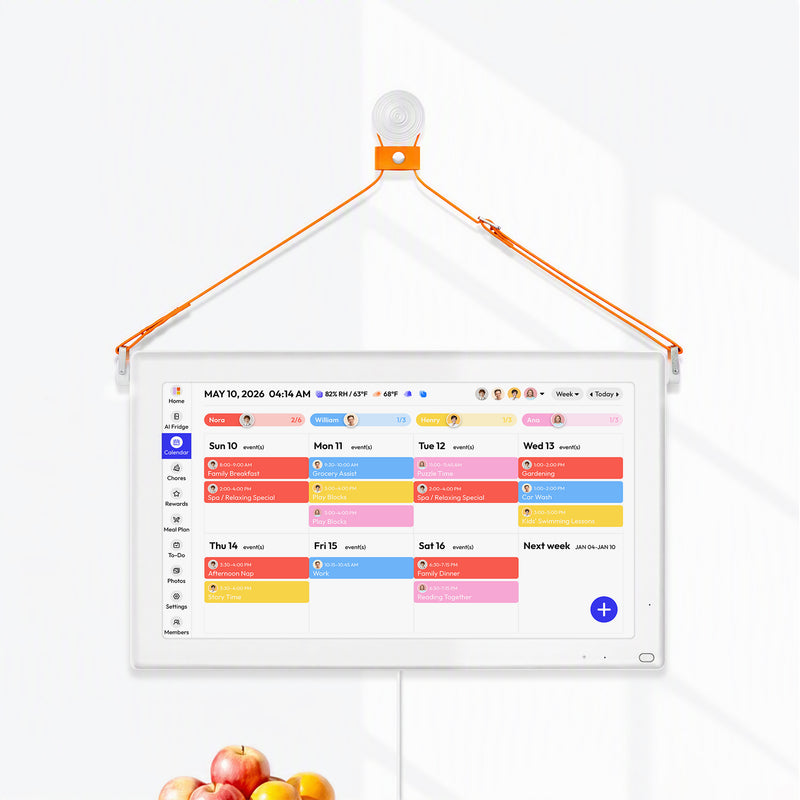
A fridge-mounted a company can help you keep expiration reminders, meal notes, and shopping adds in one visible spot.

FIFO rotation reduces waste, so place newer groceries behind older ones every restock.
Apply Core Food-Safety Rules: 40°F Fridge, 0°F Freezer, and the 2-Hour Counter Limit
Below 40°F for the fridge and 0°F freezer are the core temperature rules for safe cold storage.
Perishables should not stay out over 2 hours, and that limit drops to 1 hour if room temperature is above 90°F.
Raw meats belong on lower shelves, while ready-to-eat foods should stay above them in sealed containers.

Power outages change discard timing: refrigerated perishables are typically discarded after 4 hours without power, while freezer foods may hold about 24 hours (partly full freezer) to 48 hours (full freezer) if doors remain closed.
Practical Next Steps
- Tonight: Set up the three kitchen zones and place fridge/freezer thermometers.
- Tomorrow: Shop one shared-ingredient list and pre-portion Days 1–3.
- In 72 hours: Run a 10-minute freshness audit and freeze anything you will not eat by Day 4.
- End of week: Cut next week’s amount by 10–20% for anything left uneaten.
- Keep momentum: Repeat the same base plan for two weeks, then swap just one protein and one vegetable.
Important Note
The planning templates and organizational systems provided here are intended as adaptable blueprints. Every family’s needs, dietary requirements, and physical capabilities are different. We recommend tailoring these schedules to your specific health needs and household dynamics. Results from productivity or meal-planning systems may vary, and consistency remains the responsibility of the individual user.


