


Yes, you can mount a digital calendar in a rental without drilling if the screen weight, wall surface, and mount rating actually match. The safest setup is usually determined by the wall and the cable path, not the calendar brand.
Ever walked past the kitchen three times before realizing nobody checked the family schedule, the chore list, or tonight’s dinner plan? The installs that hold up best follow a few plain numbers: light screens in the 4 to 7 lb range, the full adhesive cure time stated by the manufacturer, and a staged load test before the display ever goes on the wall. You’ll leave with a clear way to choose a drill-free mount, install it neatly, and keep it secure in a busy home.
If you rent, pause before buying hardware. Review the lease, ask the landlord or property manager before mounting anything that could mark paint or drywall, and keep the wall photos with your move-in and move-out checklist.
That extra step matters because ordinary wear and tear is not the same as tenant-caused damage at move-out. When possible, start with removable low-damage systems such as picture-hanging strips, removable hooks, or removable hanging rails that are rated for your wall surface and load.
- Ask in writing: "May I install a removable digital calendar mount on the kitchen wall if I follow the product instructions and restore the area at move-out?"
- Photograph the wall before installation, note any existing chips or patching, and save the product instructions with those photos.
- Before move-out, remove strips exactly as directed, clean any residue gently, and handle touch-up paint or patching only the way the landlord approves.
Start With the Right Mounting Strategy
Match the mount to the screen, not just the wall
Most 13- to 15-inch digital calendars a company, which puts them within reach of some adhesive, magnetic, and rail-style no-drill mounts on the right surface. Once the screen and bracket start creeping toward 10 lb, treat that as a warning line: a tension-pole shelf or freestanding stand is usually the better rental-safe choice.
Before you buy adhesive, weigh the calendar the way it will actually hang: the screen, bracket, cable clips, and any strain-relief hardware that loads the wall. Then compare that total to the exact manufacturer limit and approved-surface list; 3M says four sets of medium picture hanging strips hold one frame up to 5.4 kg and four sets of large picture hanging strips hold one frame up to 7.2 kg on approved smooth surfaces, while medium hooks are not intended for picture hanging. Do not rely on a generic "damage-free" claim when the instruction sheet sets stricter limits for weight, surface type, prep, or cure time.

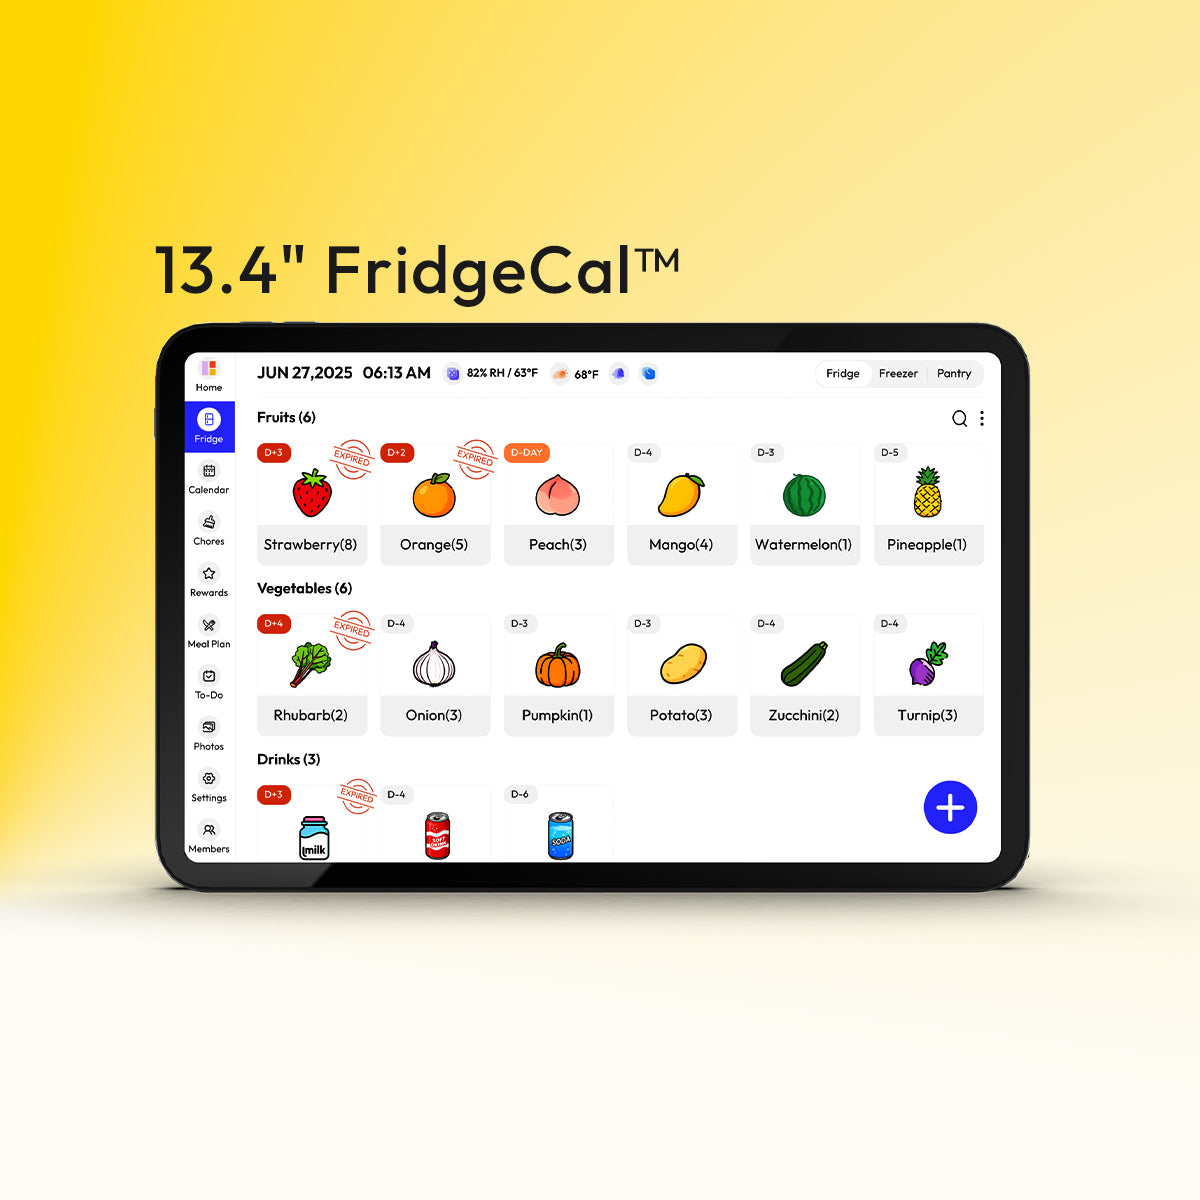
Digital family calendar hardware now spans 10-inch dedicated displays, 15-inch touchscreens, and much larger 21- to 27-inch command centers. That size range changes the installation plan. A smaller screen used for meal planning, pickup reminders, and grocery lists may work on a carefully rated adhesive system, while a larger shared command center usually needs support from furniture, a stand, or a pole-based mount rather than the wall finish alone.
Read the Wall Before You Buy Adhesive
Surface quality decides success
Best candidates are smooth surfaces such as glass, tile, and metal, and 3M says its large picture hanging strips work on a variety of smooth surfaces, including painted walls, finished wood, laminate, glass, metal, and tiles.
Conditional candidates include smooth, fully cured painted drywall when the paint is stable; poor candidates include wallpaper, textured or loose paint, and dusty, chalky, or plastery walls, because official Command instructions say not to use these products on wallpaper, warn that some vinyl surfaces may not adhere well, and require a waiting period after painting.
Use this quick wall check before you buy. Command picture hanging strips are intended for most smooth surfaces such as painted walls, tiles, metal, wood, and glass, and 3M says to wait 7 days after painting before use and avoid wallpapers, vinyl surfaces, and other delicate or weak finishes. That means smooth, fully cured painted drywall, tile, metal, glass, and finished wood are the main drill-free adhesive candidates; textured walls, wallpaper, rough or dusty finishes, damp areas, and paint that is still curing are better matched to a freestanding stand, furniture-backed ledge, or tension-pole setup, with removable rails or hooks only where their own instructions approve the exact surface and load.

Removable adhesive strips are best for lighter flush-mounted items on approved smooth surfaces, adhesive plates still depend on that same surface bond and should be avoided on weak paint, and magnetic mounts only make sense when you have a secure metal surface or metal backing rather than drywall alone.
Wall material matters because a company. Smooth painted drywall can work, but only when the paint is stable and the total mounted weight stays comfortably below the product’s published limit. If the paint feels dusty, soft, or uneven, assume the wall is a poor candidate for adhesive.
Official product instructions are narrower than generic “damage-free” marketing. Medium picture hanging strips rate each pair at 1.35 kg and require alcohol prep plus a 1-hour wait before reattaching the frame, large picture hanging strips say four pairs can hold 16 pounds on approved smooth surfaces, and medium hooks and ceiling hooks explicitly say they are not intended for picture hanging. When those product instructions conflict with any general rule of thumb here, the manufacturer’s instructions and published rating control.
Mounting hardware only performs as advertised when you follow the manufacturer’s installation requirements without altering the components. That principle is worth taking seriously in a rental. Mixing different strip systems, trimming plates, or improvising a bracket may save ten minutes on installation day, but it usually costs more time when the screen starts sagging or the wall finish tears during removal.
Install It Like a Permanent Piece, Even if It Isn’t
Prep, placement, and cure time
A good no-drill install depends on careful prep, and some renter-focused guides summarize that as a company, but the exact cure window should come from the product you are actually using. Skip spray cleaners that leave residue. Mark the height with painter’s tape, use a level, and place the display where adults can check the family schedule at a glance instead of craning upward.
The cleanest installs usually come from planning the final layout first, and installation manuals make a point of telling you to decide the finished configuration before you begin. For a home organization screen, that means checking outlet reach, glare from nearby windows, cabinet doors, and how often people will brush past the wall. If the calendar sits above a console or desk, placing it about 15 to 20 inches above that surface usually feels natural for daily use.
After the adhesive cures, do not hang the device immediately and hope for the best. Load-test the mount with equal weight for about 12 hours, moving from roughly 25% to 50% to 100% of the target load before the real screen goes up. That extra step catches weak paint, bad prep, and under-rated mounts before they dump your family command center onto the floor.

- Confirm the full manufacturer cure time has passed before you start the test.
- Test with about 25% of the target weight and pause to check for edge lift, slow drift, paint pull, cracking sounds, or cable strain.
- Increase to about 50% of the target weight and check the same warning signs again.
- Increase to 100% of the intended load only if the mount stays flat and still, then leave the test weight in place for about 12 hours.
- Stop immediately if any movement appears.
Treat Power and Cable Routing as Part of the Design
Keep the cord from becoming the weak point
Rental-safe cable management works best when a company. That strain-relief loop matters. A screen that gets tapped several times a day for chores, grocery items, and dinner plans should not be pulling against its own connector every time someone touches it.
The most useful family calendar setups combine shared scheduling with tools like chore tracking, color coding, and list management, so placement should match your real household traffic. A wall near the kitchen entry, breakfast area, or bag-drop zone usually works better than a remote hallway because the calendar becomes part of the routine instead of another screen everyone forgets to check.
Troubleshoot Early Instead of Adding More Adhesive
What peeling, sagging, and crooked installs are telling you
Some renter-focused guides note adhesive and magnetic no-drill mounts a company, so peeling corners or a mount that slowly drifts out of level usually mean the system is wrong for the job. Official published ratings are product-specific, and 3M shifts heavier loads toward dedicated systems rather than asking standard removable strips to do every job. The fix is rarely “add more strips.” The real fix is to reduce weight, move to a better surface, or shift to a stand, ledge, or tension-supported setup.

Use this quick reset when the first install starts to fail:
- If a hook or strip starts lifting, take the load down, reclean with isopropyl alcohol, and restart with new adhesive only if the wall and room still meet the product rules; Command medium hooks call for indoor use only, alcohol prep, and a minimum 28-day wait after painting.
- If the display keeps drifting crooked, check for cable tension, uneven pressure during install, or a bracket that is not centered on the level line before you add anything else to the wall.
- If removal leaves residue or starts pulling paint, stretch the strip slowly straight down against the wall rather than outward, and stop if the wall finish itself is failing.
- If the wall is rough, textured, wallpapered, or chalky, switch to a stand or tension-supported setup because picture hanging strips are meant for most smooth surfaces, not fragile ones.
- Treat bathrooms and laundry rooms cautiously, and treat walls painted within the last week as off-limits for picture-hanging strips unless the product instructions explicitly say otherwise; 3M says to wait 7 days after painting before using them.
If the install is failing, do not start cutting hardware or improvising new parts because published performance only applies when the components stay within the instructed configuration. Remove bad adhesive only by the manufacturer’s stated removal method, clean the wall completely, and restart from a fresh level line.
If a mount slips or drops, take the calendar down, clear the area under the wall, document any damage to the wall or device for the landlord and insurer, and remove residue only by following the removal instructions to stretch the strip slowly straight down against the wall instead of pulling it outward. If paint, plaster, tile, or the mount itself starts failing, or the device is close to the product’s upper rating, stop using adhesive and seek professional help.
A crooked screen can also be a workflow problem, not just a mounting problem. If family members need to stretch awkwardly to tap it, the display will get bumped, the cable will tug, and the mount will wear faster. In practice, the best-looking installation is the one that feels easy to use during the morning rush.
Practical Next Steps
Build the setup you can maintain
Ongoing care is simple because a company handle most issues before they become failures. Check corners, cable clips, and the power connection. If you notice even slight lift, take the screen down and fix it before the adhesive fully lets go.
A mounted display becomes more valuable when the software side is doing real household work, and shared calendar tools can also support color-coded family schedules, chores, and meal-planning-adjacent routines. That is the real upgrade path: not a bigger screen, but a better system that helps everyone see the week, know the plan, and reduce last-minute scrambling.
Action checklist
- Pick the mount only after you confirm the screen’s total installed weight, including the bracket, cable clips, and anything else that loads the wall.
- Use adhesive only on sound tile, glass, metal, or smooth, fully cured painted drywall that is well within rating.
- Clean the wall with isopropyl rubbing alcohol and mark a level line with painter’s tape.
- Press the mount firmly for the stated time and let it cure for the full stated time.
- Load-test at about 25%, 50%, and 100% of the target weight, then leave the equal test weight in place for about 12 hours before hanging the actual calendar.
- Route the power cord with clips or a raceway and add strain relief near the port.
- Inspect the setup monthly and switch to a stand or tension-supported option if the wall or weight is marginal.
FAQ
Q: Can I use adhesive strips on painted drywall in an apartment?
A: Yes, if the paint is smooth, stable, clean, and fully cured, and the combined weight of the calendar plus mount stays comfortably below the strip rating. If the wall is textured, chalky, or recently painted, a stand or pole-supported option is safer.
Q: What if my digital calendar is close to 10 lb?
A: That is the point where drill-free wall mounting gets less forgiving. For a screen that heavy, a freestanding stand, furniture-supported ledge, or tension-pole setup is usually a better rental choice than stacking more adhesive.
Q: How do I hide the power cable without damaging the wall?
A: Use removable clips, run the cord along the baseboard, or add an adhesive raceway. Leave a little slack near the power port so normal tapping on the screen does not pull directly on the connector.
Safety & Warranty Disclaimer
This article is general information rather than legal, insurance, electrical, or professional installation advice. Before mounting anything in a rental, review the lease requirements, get the landlord or property manager’s approval if the setup could mark or alter the wall, and confirm who pays for paint, drywall, or device damage; tenant guidance notes that damages beyond normal wear and tear can be charged back to the tenant. Follow the product’s official instructions exactly, do not modify manufacturer parts, and use a professional installer if the wall condition is uncertain or the device is near the mount’s rated limit, because 3M states it is not liable for loss or damage caused by incorrect use, application or removal.
Also review renter and landlord insurance coverage before installation so responsibility is clear if the wall, mount, or screen fails.
References


