



A framed digital wall calendar looks best when the cord disappears, the screen sits at the right height, and the surrounding wall supports how your family actually plans meals, chores, and schedules.
Does your family calendar help during the week but still look like a screen bolted onto the kitchen wall? The strongest setups solve both problems at once: they hide the power path, place the display where daily decisions already happen, and blend the calendar into a command center that feels intentional. You’ll get a practical path for choosing the right spot, concealing the cord safely, and styling the calendar so it reads more like framed art than household tech.
Start With the End Result You Want
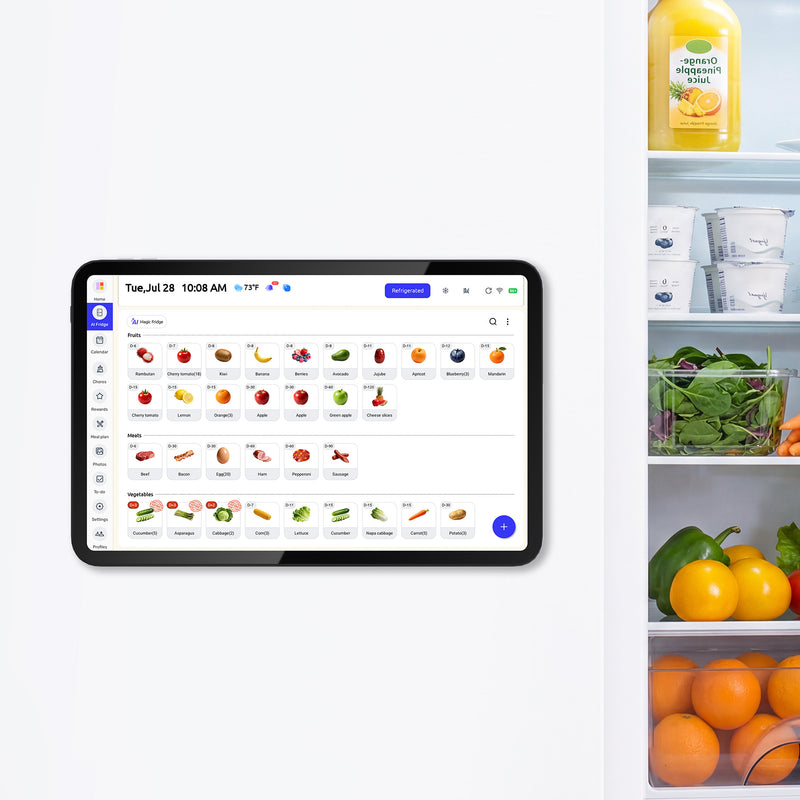
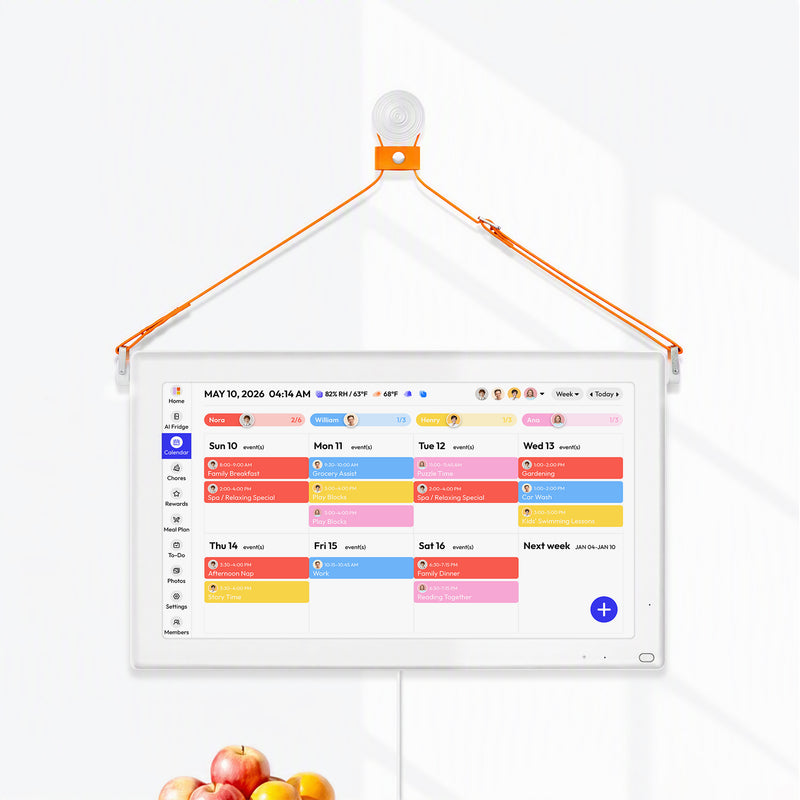
A a company works best when it reduces scattered information instead of adding another screen to ignore. In a busy kitchen or dining area, that usually means one view for schedules, one place for chores, and one quick check-in point for meal planning. Color-coded family views help children and adults scan the day faster, especially when homework, practices, and dinner plans all compete for attention.
A small, visible household hub is also easier to style well because the wall has a clear job. When I map these spaces out, I think in simple zones: capture, plan, and launch. The calendar handles planning, a mail sorter or paper pocket handles capture, and key hooks or a grocery list pad support the launch moment when everyone is heading out the door.
The most convincing “picture frame” result comes from treating the calendar as part of a composition, not a standalone device. A gallery-wall approach works especially well in family spaces because it lets the screen sit beside memo boards, framed notes, or meal-planning tools without looking accidental. When the screen can also switch to photo-frame or art display mode, the wall stays useful even when nobody is checking the week.

Choose the Right Wall Before You Hide Anything
The best placement is usually near the fridge or main prep path, where daily decisions already happen. A center height of about 56 to 60 inches from the floor is often easier to read than simply turning up brightness, and a one-week paper mockup will tell you more than guessing from across the room. If adults hunch to read, raise it 1 to 2 inches; if users struggle to tap the upper corners, lower it slightly.
Make a quick painter’s-tape or paper template before you commit: mark the screen outline, a vertical centerline, the target center-height mark, a tap zone for the corners you use most, and the cable exit path. Then test two candidate locations for 3 to 5 days, log the real touches at each spot, and take breakfast, midday, and evening phone photos from the same standing positions so you can compare reach, sightlines, and glare before you cut.
A 3- to 5-day location test is worth doing before you cut drywall. Try two likely walls and count the real “touches”: calendar checks, grocery additions, paper drops, key grabs, and quick meal-plan changes. That test usually reveals whether the screen belongs by the kitchen entrance, the mudroom edge, or the hallway between the kitchen and garage door.

Glare control matters because a calendar only looks frame-like when it is easy to read without looking harsh. Side-wall placement usually beats placing the display directly across from a bright window, and it is smart to check the screen at breakfast, midday, and evening from straight on and from about 30 to 45 degrees off-angle. Solve glare in this order: shades or blinds first, mount angle second, matte film or brightness adjustment last.
Hide the Cord Safely, Not Just Neatly
A planned cable route can turn a 2- to 4-hour project into a clean finish instead of a patch-and-repair job. If the calendar will stay in one place for years, prioritize invisibility; if you expect to swap devices or service the setup often, prioritize access. Fixed mounts stay slimmest, while tilting or full-motion mounts need more depth and more cord slack behind the screen.
Must do before cutting or drilling
- Shut off the branch circuit and verify it is truly deenergized with an appropriate tester before you touch the wall or device opening.
- Scan for studs, existing wiring, plumbing, and ductwork on both sides of the wall before you drill or cut.
- Dry-fit the mount and cable path so no cord is pinched, bent sharply, or forced tight behind the screen.
- Leave at least 12 inches of service slack so the calendar can be unplugged or serviced without stressing the cord.
- Stop and reassess if the wall is exterior, masonry, tiled, fire-rated, or otherwise unclear.
Call a licensed electrician if...
- You need a new receptacle, receptacle relocation, hardwiring, circuit modification, or any work inside the service equipment.
- You cannot positively identify what is in the wall, or the wall contains masonry, plaster over lath, shared-wall assemblies, or fire-rated construction.
- The product instructions or local inspector require licensed installation or inspection.
Professional handoff checklist
- Confirm whether a permit or inspection is required for receptacle work or concealed wiring in your jurisdiction.
- Ask the electrician to verify the exact listed product, wall type, and cable path before the wall is closed.
- Before final sign-off, test power, screen reach, glare, and that no cord is pinched or concealed improperly.
The cleanest look usually comes from a recessed outlet or a code-compliant in-wall power kit, but hidden power needs the right method. UL-listed in-wall power kits are the safer option for concealed power, and standard flexible extension cords should not be hidden inside walls. Keep at least 12 inches of service loop behind the unit, avoid crushing the power cord, and turn off the circuit before cutting or drilling.

Before you buy parts, confirm the recessed outlet or in-wall kit is UL Listed for the exact use and that you will install it exactly as marked and instructed.
The NEC panel language for Section 400.12 states that flexible cords and power-supply cords are not permitted where they run through holes in walls or are concealed by walls, so a regular extension cord is not a substitute for an in-wall power relocation product.
If the wall is fire-rated or shared with another unit, verify the opening details against UL guidance for outlet boxes in rated assemblies before cutting.
If cutting into the wall is not the right move, there are still good options. A surface raceway or outlet-slack faceplate can reduce visual clutter without opening the wall, and a commercial in-wall kit with power relocation and cable modules can work for more complex setups that include HDMI or Ethernet runs. For a digital family calendar, that simpler no-cut route is often enough if the wall color matches the cover and the device sits close to an outlet.
Make the Calendar Read Like Framed Art
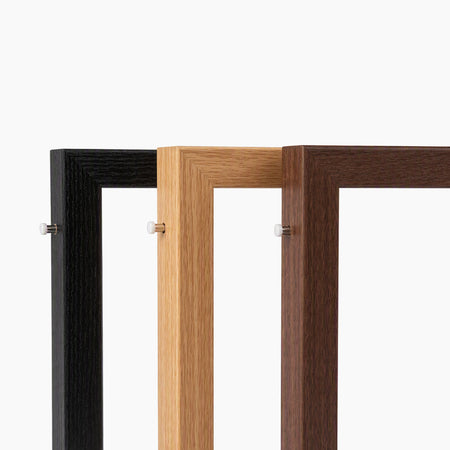
A brass frame edition or antique-style surround immediately softens the “screen” look, especially in kitchens where metal finishes, wood tones, and framed prints already exist. That material choice matters more than people expect. Warm finishes tend to blend into traditional and transitional homes, while a plain black bezel often reads as office equipment unless the whole wall is modern.
The most polished examples use framing to distract the eye from the device shape itself. An antique-style frame with uploaded artwork can make a digital calendar feel like part of a gallery wall when the display shows scenic art during off-hours. That is especially useful in a family command center, because the wall can shift from schedule view in the morning to a calmer art display during dinner or when guests visit.

Supporting pieces help the illusion. A framed memo board above the calendar, a wooden mail sorter below it, or nearby framed recipe cards can make the wall feel curated rather than purely technical. If you want a low-cost styling layer, matted recipe prints in 5-by-7-inch frames echo the language of traditional wall art and tie the calendar back to meal planning in a natural way.
Match the Concealment Method to the Device You Own
A recessed outlet behind the calendar is the first idea many people try, but plug blocks are not always small enough to fit the recess cleanly. That is where projects often stall: the concept is right, but the hardware geometry is wrong. Some larger digital calendars can cover a custom recessed solution well, while smaller framed models may need a mount bracket positioned beside the outlet so the screen can still hide it.
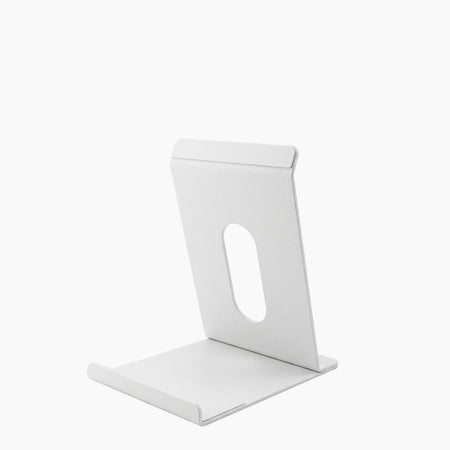
Device size changes the strategy. A a company gives you more surface area to conceal outlets and cable exits, and larger models often support landscape or portrait mounting depending on the wall layout. A 15.6-inch unit is easier to fit into a narrow kitchen wall, but it leaves less room to hide mistakes, so outlet placement and bracket choice need tighter planning.
This is also where access needs matter. A a company may stay powered on all day and become a true household dashboard, so it is worth making the installation neat enough for long-term use. If your family changes devices often, leave service access. If this is your main command center for schedules and meal planning, build for permanence.
Build the Surrounding Command Center, Not Just the Mount
A 4- to 6-tool command center usually serves a family better than a calendar alone. The strongest layouts pair the screen with a paper sorter, key hooks, a note area, and a weekly meal board or grocery list. That combination reduces the “Where did I put that?” friction that often survives even after families buy a digital calendar.
Workflow matters more than decoration. A capture, plan, launch layout keeps incoming paper, the shared schedule, and departure essentials in the order people actually use them. In practical terms, that might mean the mail sorter goes closest to the door, the calendar sits at adult eye level, and a meal board or grocery pad lands within one step of the kitchen path where dinner decisions happen.
Children benefit when the wall is readable without help. A a company gives kids a way to check homework, activities, and chores on their own, which reduces repeated verbal reminders. If you add one low-mounted routine list or note strip beside the framed calendar, the whole wall works better for the entire household.
Practical Next Steps
Quick prep box: Gather a paper or painter’s-tape template, tape measure, level, stud finder, voltage tester, pencil, phone camera, mount hardware, and your chosen recessed outlet, listed in-wall kit, or surface raceway. Measure the floor-to-screen-center for each mockup, note one alternate height if the primary cook is much shorter or taller, and compare before-and-after phone photos from the same standing spot after your breakfast, midday, and evening glare checks. The mockup and testing phase usually takes the longest; the scan, opening work, mount install, and final photo/glare verification move faster when the cable path is decided first.
If you want the cleanest result, handle the project in this order:
- Test two wall locations for 3 to 5 days and count real daily uses.
- Tape up a paper mockup and adjust the center height to about 56 to 60 inches.
- Check glare at breakfast, midday, and evening before you commit.
- Choose a concealment method: recessed outlet, UL-listed in-wall kit, or painted surface raceway.
- Leave at least 12 inches of service loop behind the calendar.
- Add one or two supporting pieces, such as a framed memo board or meal-planning area.
- Use frame finish, artwork mode, and nearby decor to make the screen read like wall art.
A picture-frame look comes from discipline more than decoration. Plan the placement first, hide power in a code-aware way, and build the wall around the family workflow you already use for schedules, chores, and meals.
FAQ
Q: Can I hide the calendar’s power cord inside the wall with a regular extension cord?
A: No. The NEC panel language for Section 400.12 says flexible cords and power-supply cords are not permitted where they run through holes in walls or are concealed by walls, so hidden power should use a code-compliant method such as a UL Listed in-wall power kit or a properly installed recessed outlet setup designed for that use.
Q: What height should a digital family calendar be mounted?
A: A practical starting point is a center height of about 56 to 60 inches from the floor, then adjust by 1 to 2 inches after a paper mockup test.
Q: What makes a digital wall calendar look less like a screen?
A: A warm-toned frame, flush or nearly flush mounting, hidden power, controlled glare, and nearby framed elements such as memo boards or recipe art make the biggest difference.
Safety & Warranty Disclaimer
This installation and decor guide is for general reference and creative inspiration. Physical home modifications carry inherent risks, including structural damage or electrical hazards. Always prioritize your product’s official installation manual and ensure compliance with local building codes. Any receptacle addition or relocation, circuit modification, hardwiring, or uncertain wall condition should be handed to a licensed electrician and, where required, permitted and inspected. If you are uncertain about performing a task, please seek assistance from a certified professional. [Brand Name] is not responsible for any damage or injury resulting from DIY applications of these suggestions.
References


