


For most family kitchens, the sweet spot is mounting the touchscreen with its center about 56-60 in from the floor, then adjusting 1-2 in after a one-week trial. Height should follow your workflow, not just wall symmetry.
You know the feeling: you check tomorrow’s plan while chopping vegetables, and your neck is already tense before dinner even starts. In real kitchens, small placement errors create daily friction because this screen gets used dozens of times in passing, not in one long session. You’ll get a practical setup method that fits prep, fridge checks, kid access, and cleanup without turning your kitchen into a tech project.

Start with Kitchen Workflow: Prep Zone, Fridge Zone, and Traffic Flow
A kitchen touchscreen works better when it sits where decisions happen, not where there is empty wall space. Map your routine in three passes before you measure height:
- Stand in your main prep spot and note where your eyes naturally rest when your hands are busy.
- Walk to the fridge and back as you would during dinner prep.
- Watch traffic pinch points for 10 minutes during a normal evening.
Food-related reminders matter most near cold storage because 40°F or below is the target for refrigerated items. If the screen is too far from the fridge, people delay updates and forget them.
A practical layout I use is:
- Prep zone: quick-glance visibility from the main counter.
- Fridge zone: one-step access for expiry checks and grocery adds.
- Traffic flow: no stopping point in front of oven, sink, or entry path.
Fridge-Door vs Wall Mount: Choosing the Right Location and Height
Choose location first, then set height. The mount style changes how high the screen should sit.
Mount location |
Good starting center height |
Works well when |
Trade-off |
Fridge door |
52-56 in |
Fast food and list updates |
Shared visibility is narrower |
Wall next to fridge |
56-60 in |
Mixed use: meals + calendar + chores |
Needs careful cable planning |
Wall command-center spot |
58-62 in |
Family-wide viewing from several angles |
Can feel high for shorter users |

Use this test before drilling:
- Tape a paper rectangle the same size as the screen.
- Have each regular user tap the top-left and bottom-right corners.
- Run two real tasks: add a grocery item and check tomorrow at 6:00 PM.
- If shoulders rise, lower 1-2 in. If adults keep bending, raise 1-2 in.
Material choice trade-off is simple:
- Fixed mount: cleaner look, lower cost, less flexibility.
- Tilt/swivel mount: better for mixed heights, slightly bulkier, usually worth it for family use.
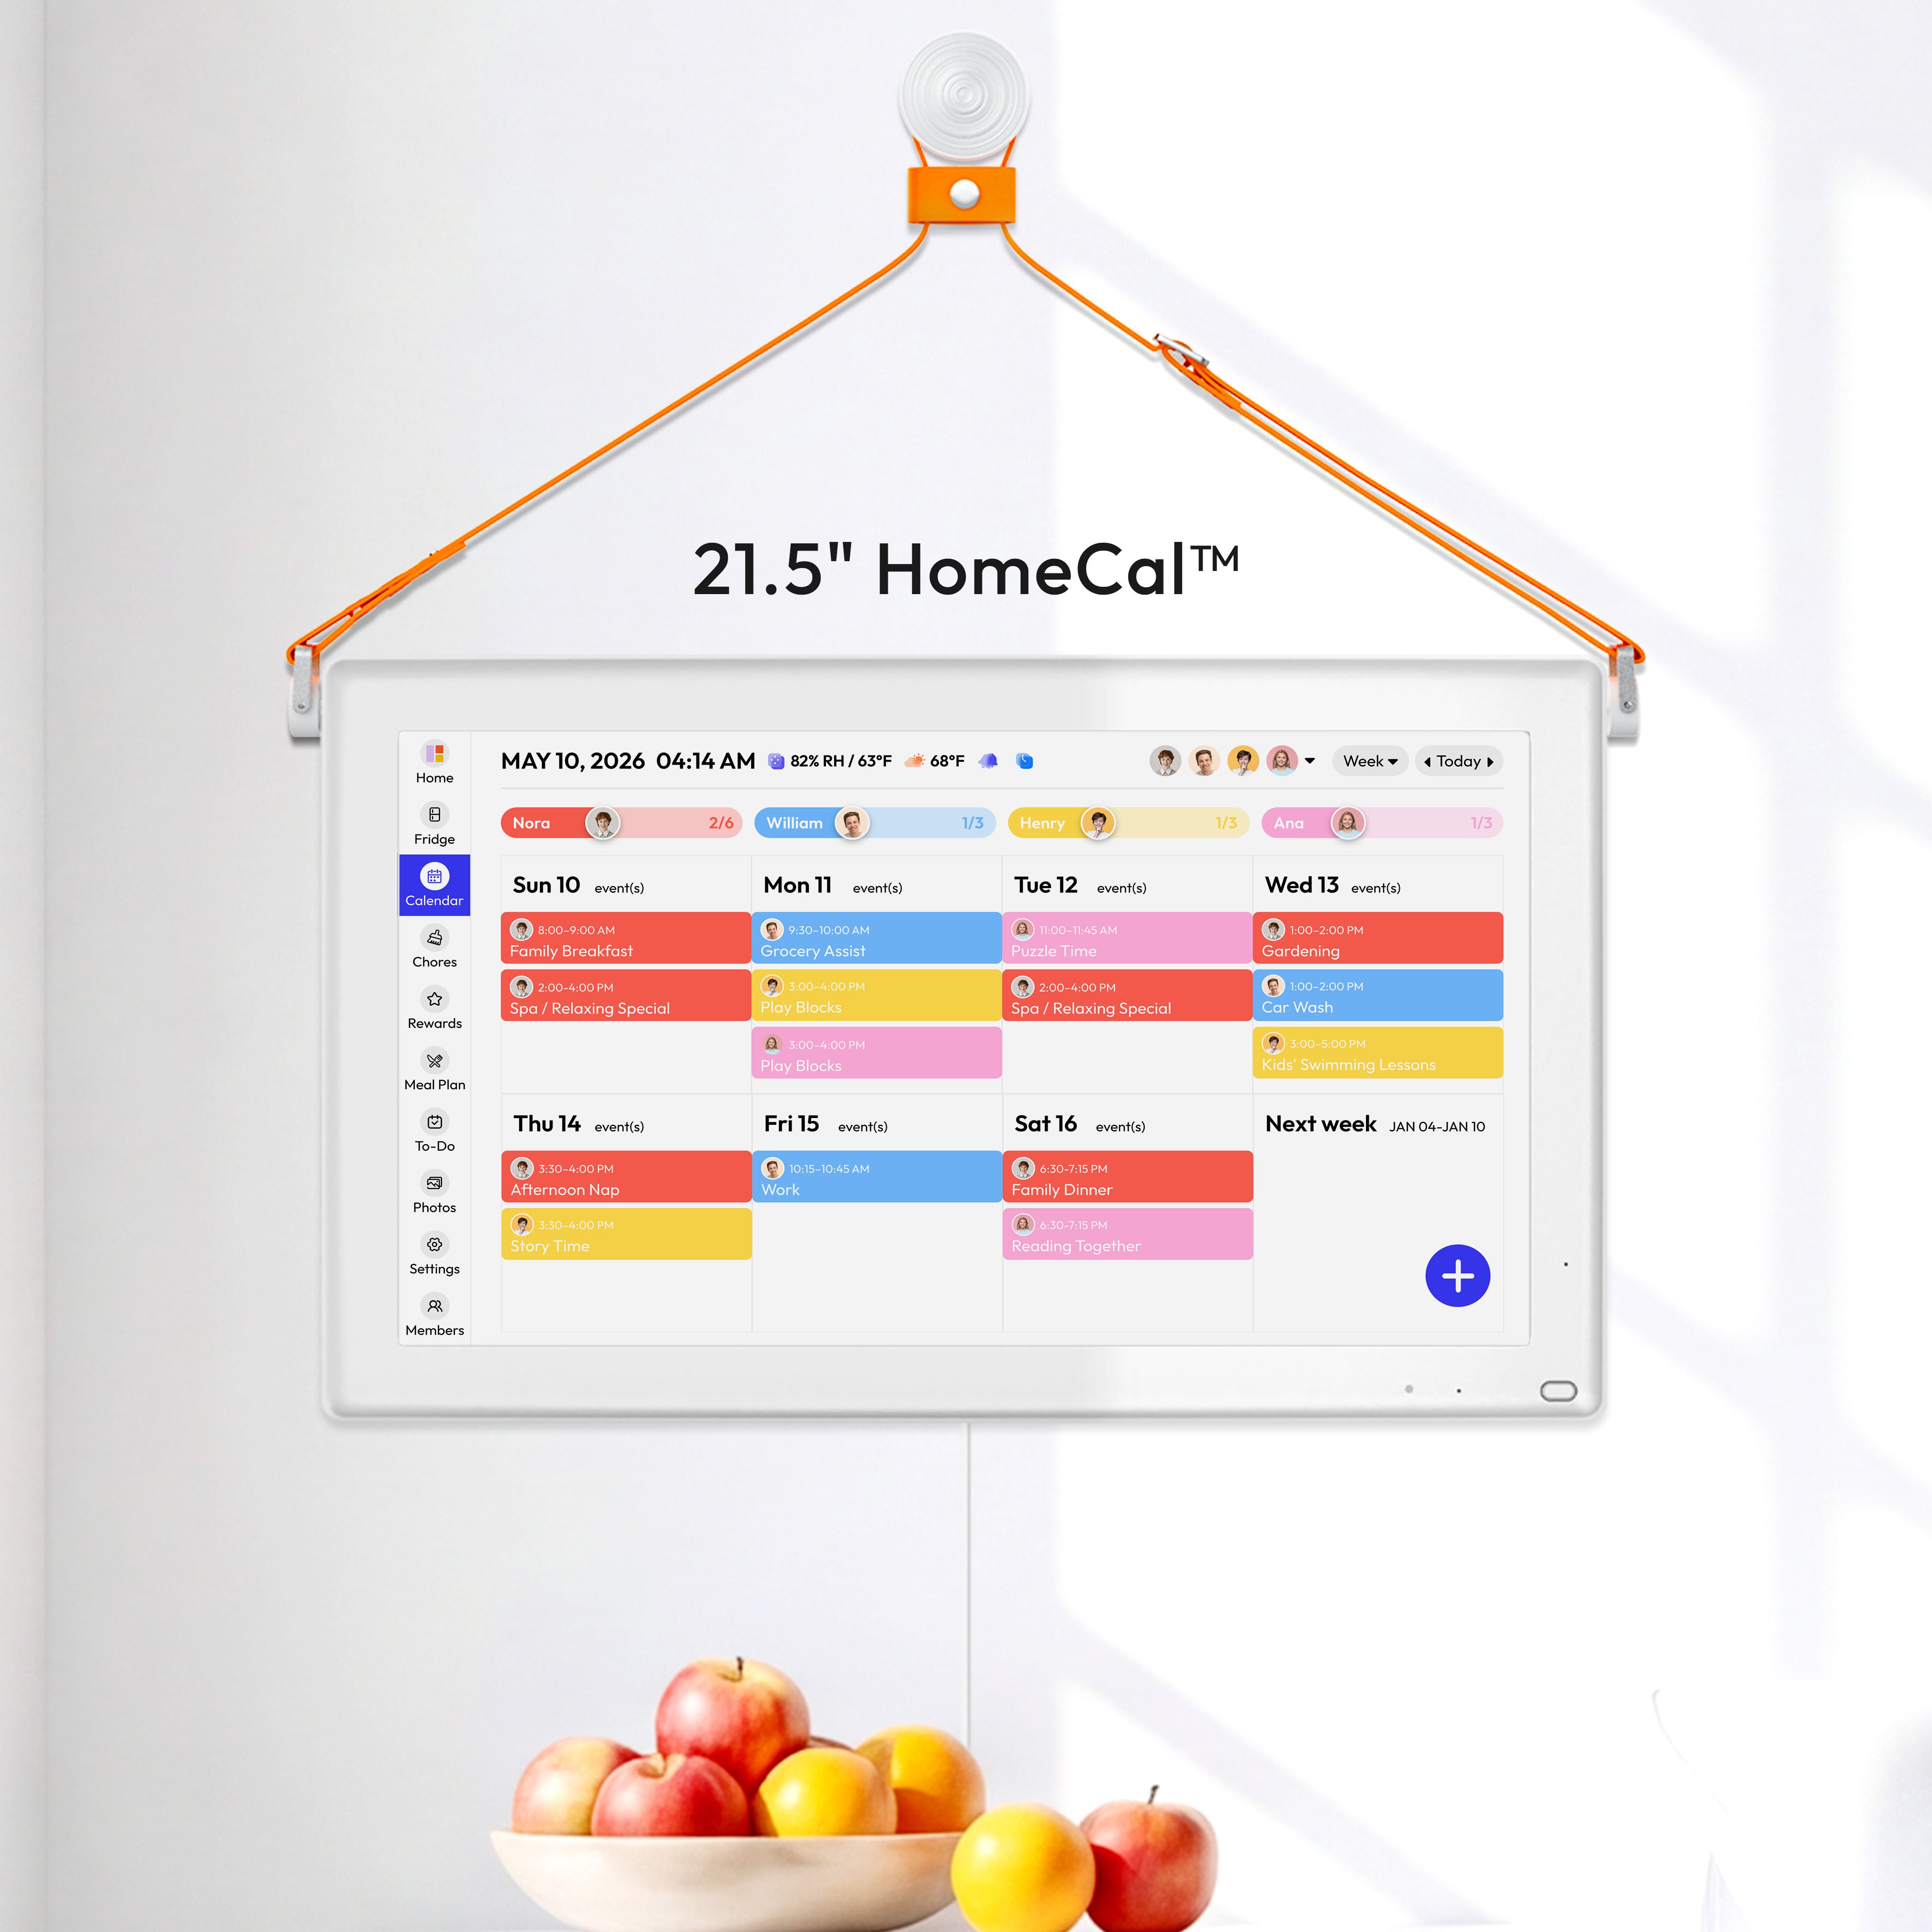
When a Fridge-Mounted Display Fits Best (Everblog 13.4" FridgeCal Example)
A fridge-mounted option is strongest when kitchen space is tight and food planning is the daily bottleneck. The a company is positioned for that fridge-door workflow, with freshness tracking, meal planning support, and shopping-list capture in one place.
The biggest ergonomic benefit is reduced extra steps: your hand is already at the fridge when you need to log food or add items. This also supports safer habits because perishable items should not sit out more than two hours, so reminders where food is handled can cut misses.

For fit and comfort, keep the active touch area between upper chest and eye level for the primary user, and leave enough edge clearance so door seals, handles, and nearby cabinets never interfere.
Safety and Usability Checks: Reach, Clearance, Cleaning, and Child Access
Temperature control failures are avoidable because improper holding temperatures are a known food-safety risk factor. If a screen setup encourages long fridge-door-open browsing, placement needs correction.
Use this quick acceptance checklist:
- Reach: all primary users can tap all four corners without shrugging or wrist strain.
- Clearance: door swing is fully open, no contact with cabinets, trim, or handles.
- Heat/splash: avoid mounting directly above active steam/splash zones.
- Cleaning: use a microfiber cloth and gentle cleaner; no abrasive pads.
- Child access: place routine buttons lower, lock settings/admin actions behind a passcode.
Common mistakes and fixes:
- Screen feels “too high” at night: lower 2 in and retest for 3 days.
- Kids over-tap random controls: enable simplified home view and larger task buttons.
- Adults block traffic while using it: shift mount 6-10 in away from the aisle line.
Practical Next Steps
- Tape a full-size mockup at 56-60 in center height and run real dinner prep for one week.
- Track three metrics: neck comfort, missed reminders, and kitchen traffic delays.
- Adjust height in 1-2 in steps until all primary users can interact without posture strain.
- Finalize mount type: fixed for clean look, adjustable for mixed-height households.
- Set a care routine: wipe weekly, check mount screws quarterly, and review button layout monthly.
- Level up your setup by season: add school-year, summer, and holiday task presets so the screen stays useful as routines change.
Safety & Warranty Disclaimer
This installation and decor guide is for general reference and creative inspiration. Physical home modifications carry inherent risks, including structural damage or electrical hazards. Always prioritize your product’s official installation manual and ensure compliance with local building codes. If you are uncertain about performing a task, please seek assistance from a certified professional. [Brand Name] is not responsible for any damage or injury resulting from DIY applications of these suggestions.


