

Good mini fridge organization makes every item visible, keeps cold air moving, and gives food a predictable home. Start by removing what is spoiled or no longer useful, group the rest by when you use it, and reserve the front for food that needs attention first. A small fridge does not need a small army of bins.
The goal is not Sunday perfection. It is a fridge you can understand in ten seconds on Thursday night.

Why Mini Fridge Organization Is Harder Than It Looks
Mini fridges become confusing because one row of drinks or takeout boxes can hide nearly everything behind it. You reorganize, shop, and discover that the new yogurt had three friends in the back.
This is a visibility problem before it is a storage problem. In WRAP's 2024 survey of 4,740 UK adults responsible for food shopping or preparation, 45% selected checking food storage before shopping as something that would help reduce uneaten food. That is a stated preference, not a measured outcome, but the habit is practical: see what you own before adding more.
Make everything pass the 10-second visibility test
An organized mini fridge lets you identify its contents in ten seconds without unloading a shelf. Count items you cannot identify without moving something. Lowering that visibility score matters more than matching containers. Aim for one row; if items must sit front to back, pair them by use, such as two breakfast ingredients. These routines can also help you reduce food waste at home.
How to Organize a Mini Fridge Step by Step
Organize a mini fridge in five passes: reset, group, zone, contain selectively, and turn flat packages upright.
Step 1: Empty, inspect, and clean
Remove everything, keep perishables out briefly, and clean according to the appliance instructions. Check storage history instead of discarding food only because a “best by” date passed. Toss spoiled or unsafe food and put older duplicates in front. Keep opened duplicates separate so their age stays clear.
Step 2: Group food by its next use
Group items by their next use, not only by category. Keep daily breakfast foods together, form a cluster for tomorrow's dinner, and give leftovers the most visible spot. A label such as “Tuesday lunch” or “freeze Wednesday” turns a mystery container into a decision.
Step 3: Assign simple, safe zones
Create zones around visibility, spill prevention, and measured temperature. Designs vary, so use an appliance thermometer and keep the refrigerator at or below 40°F, as the FDA recommends. Put raw proteins in a sealed tray on the lowest usable shelf, eggs in their carton on an interior shelf, and produce in a clear bin if there is no crisper.
Step 4: Use bins only when they solve a problem
Use a bin for loose items that scatter, tip, or disappear. Skip it when the container adds walls but no function.
|
Storage problem |
Useful tool |
When to leave the shelf open |
|
Loose cheese sticks or snack packs |
One shallow clear bin |
Original package already stands neatly |
|
Several small jars |
Compact turntable with clearance |
One or two jars are easy to reach |
|
Produce with no drawer |
Clear, ventilated bin |
Produce is already visible and contained |
|
Tall bottles |
Stable shelf or door slot |
A bin would reduce usable height |
Measure width, depth, and shelf clearance first. Rectangular, transparent containers preserve visibility and usable corners.
Step 5: Store flat packages like books
Stand flat frozen meals, deli packs, and sealed snack bags upright when packaging allows it. Face labels outward so you can flip through items instead of lifting a stack. Professional organizer Jean Prominski gives similar upright-storage advice for dorm food areas. No universal space-saving percentage applies; keep vents clear.

Build Fridge Zones Around Safety and Frequency
Zones should keep frequent foods visible, raw items contained, and cold air unobstructed. Follow appliance instructions.
|
Zone |
Good candidates |
Main rule |
|
Door |
Condiments and drinks approved for refrigerator-door storage |
Keep eggs in their carton on a shelf |
|
Eye-level shelf |
Leftovers, yogurt, ready-to-eat snacks |
Put “eat first” food at the front |
|
Interior shelf |
Milk, eggs in their carton, cooked ingredients |
Keep a consistent location |
|
Lowest usable shelf |
Sealed raw meat, poultry, or seafood |
Use a leakproof tray or container |
|
Crisper or produce bin |
Fruit and vegetables that require refrigeration |
Put quick-use produce in front |
|
Freezer compartment |
Flat meals and small labeled portions |
Keep labels visible and vents clear |
Keep the door for stable items
Use the door for condiments and beverages whose labels permit it. During the weekly audit, check package instructions, condition, and likely use instead of discarding an item only because four weeks passed.
Put leftovers where your eyes land first
Reserve part of the eye-level shelf as an “eat first” zone for leftovers, cut produce, and open dairy. Put the oldest safe item forward and add a date or next use.
Keep quick-use produce visible
Place short-lived produce in front of slower-use items. If an opaque drawer hides it from memory, use a clear shelf bin without crowding the fridge.
Common Mini Fridge Organization Mistakes
Small-fridge systems fail when they block airflow, hide food, or depend on a cleanout that rarely happens.
|
Mistake |
Why it causes trouble |
Better fix |
|
Packing every gap |
Cold air cannot circulate properly |
Leave space around food and vents |
|
Treating the door as universal storage |
Temperature-sensitive food gets a less stable location |
Keep milk and eggs on an interior shelf |
|
Adding too many bins |
Rigid walls reduce flexibility |
Use a bin only for a named problem |
|
Hiding food in opaque containers |
Contents vanish from view |
Use clear containers and outward labels |
|
Waiting for a major cleanout |
Old food accumulates again |
Do a five-minute weekly audit |
The FDA warns against packing a refrigerator so tightly that air cannot circulate, but it gives no universal “70% full” rule. Judge by airflow and temperature. Weekly, check dates, leftovers, open packages, and duplicates; move quick-use food forward, wipe spills, and list genuine shortages.
When Mini Fridge Organization Becomes a Shared System
For one person, good mini fridge organization may be enough. You know what you bought, what needs to be eaten first, and what is running low.
That gets harder when several people share the fridge. One person shops, another cooks, and someone else finishes the milk without updating the list.
From Visible Storage to Shared Food Visibility
At that point, bins and fridge zones solve only part of the problem. The household also needs a shared view of:
- What food is already available
- What should be eaten soon
- What is planned for meals
- What still needs to be bought
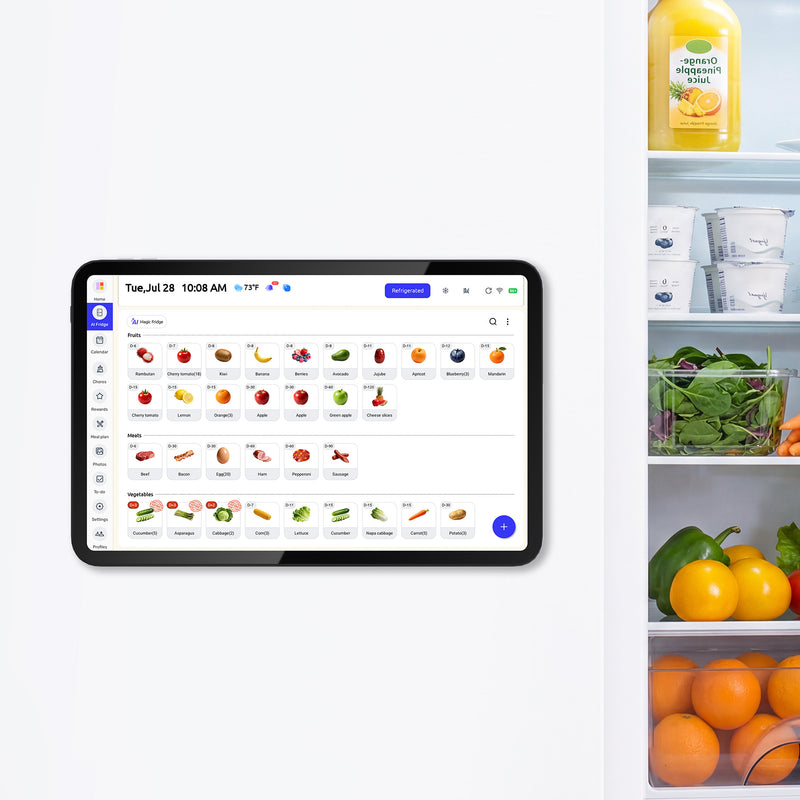
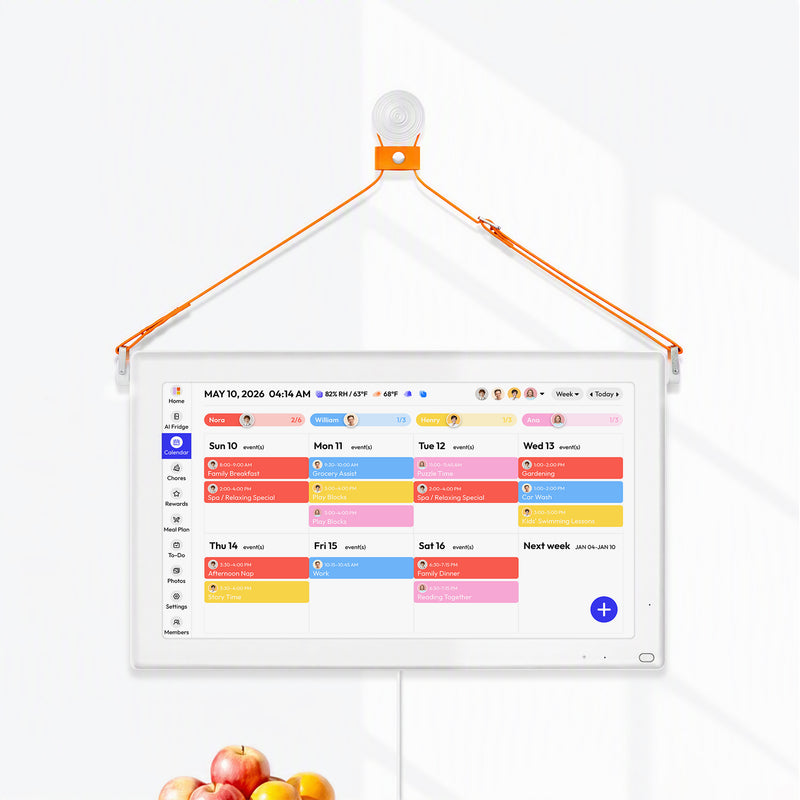
A shared note or grocery list may be enough. For larger households, If the household wants kitchen visibility plus phone access, a fridge-mounted calendar and grocery list display can show grocery lists, meal plans, inventory, and expiration reminders.
The goal stays the same: make food visible enough to use, not just organized enough to store.
Frequently Asked Questions
These direct answers cover the most common mini fridge setup questions.
How do I organize a mini fridge with no drawers?
Use one clear produce bin and leave shelf space for tall items. Keep leftovers forward and anything leak-prone in a sealed tray. Do not turn every category into another container.
What containers work best in a mini fridge?
Choose clear, rectangular containers that fit the measured shelf. Stack only with enough airflow and clearance. A compact turntable can help with several small jars if it rotates freely.
How often should I reorganize a mini fridge?
Do a five-minute audit weekly and a full empty-and-clean reset when spills, odors, or clutter require it. Let the fridge's condition determine the timing.
Can you use a lazy Susan in a mini fridge?
Yes, if it rotates freely and blocks no vent. It suits several small jars but wastes space for only one or two.
How do you organize a mini fridge for ADHD?
Reduce memory demands with transparent containers, broad categories, one eat-first zone, and action labels. Keep frequent food visible. This guide to ADHD-friendly fridge organization offers a fuller low-friction approach.
Mini fridge organization lasts when the layout makes the next action obvious. Run the ten-second visibility test today, fix the largest blind spot, and repeat the five-minute audit before your next grocery trip. Buy a container only when you can name the problem it will solve.


