


The best family command center is a small, visible household hub near the kitchen or main entry, built around one shared calendar, one paper-capture system, and one meal-planning workflow.
Do school forms, practice times, and dinner decisions keep collecting on the counter instead of in one usable place? A strong command center can fit on a 3- to 4-foot wall, start with a lean starter budget, and give a busy family one place to manage schedules, mail, keys, and meals. You will leave with a simple framework for choosing the right location, selecting the right tools, and laying them out so the system actually gets used.
Start With the Right Location
A family command center works best when it sits in a path people already use, not in a spot that only looks organized. In most homes, that means the kitchen entrance, mudroom, entryway, or the hallway between the kitchen and the front or garage door. If you place the system in a home office, spare room, basement, or behind a door, it usually becomes a storage wall instead of a daily dashboard.

The most reliable way to choose a location is to test two candidate spots for 3 to 5 days each and count how often someone naturally stops there. Tally every touch: dropping keys, checking the calendar, sorting mail, writing a grocery item, or reviewing the meal plan. The better location is the one that already fits family traffic, even if it is less decorative.
A good placement rule is this: the calendar and meal plan should sit at adult eye level, the paper inbox should be reachable within one step of the door used most often, and kid-facing routine lists should be low enough to see without help. That layout supports the real goal, which is faster decisions at the exact point where the family enters, exits, and asks what happens next. Treat those heights as a practical starting point, not a fixed rule. In homes with wheelchair users, shorter adults, or aging family members, keep the most-used controls and writing surfaces within accessible reach ranges so the center works without stretching or climbing.
The U.S. Access Board's operable-parts guidance places many daily-use controls within 15 to 48 inches above the floor when the reach is unobstructed. That makes it reasonable to center the calendar and meal board in the easiest adult viewing band, lower at least some hooks and kid-facing lists for shorter or seated users, and reserve higher spots for backup supplies instead of everyday tasks.
AARP's HomeFit guidance recommends keeping everyday items within easy reach and using higher storage for extra or occasional-use items. Applied to a command center, that means keys, chargers, pens, and the paper inbox get the prime zone, while backup markers, archived papers, and spare supplies can live higher up.
Choose a Hybrid Tool Stack
Most households need only 4 to 6 core pieces: a family calendar, a paper sorter, key hooks, and a message or bulletin space. For families managing school schedules, sports, appointments, and dinner planning, a weekly meal board and grocery list pad are the next two best additions because they turn the command center into a practical planning station instead of a reminder wall.
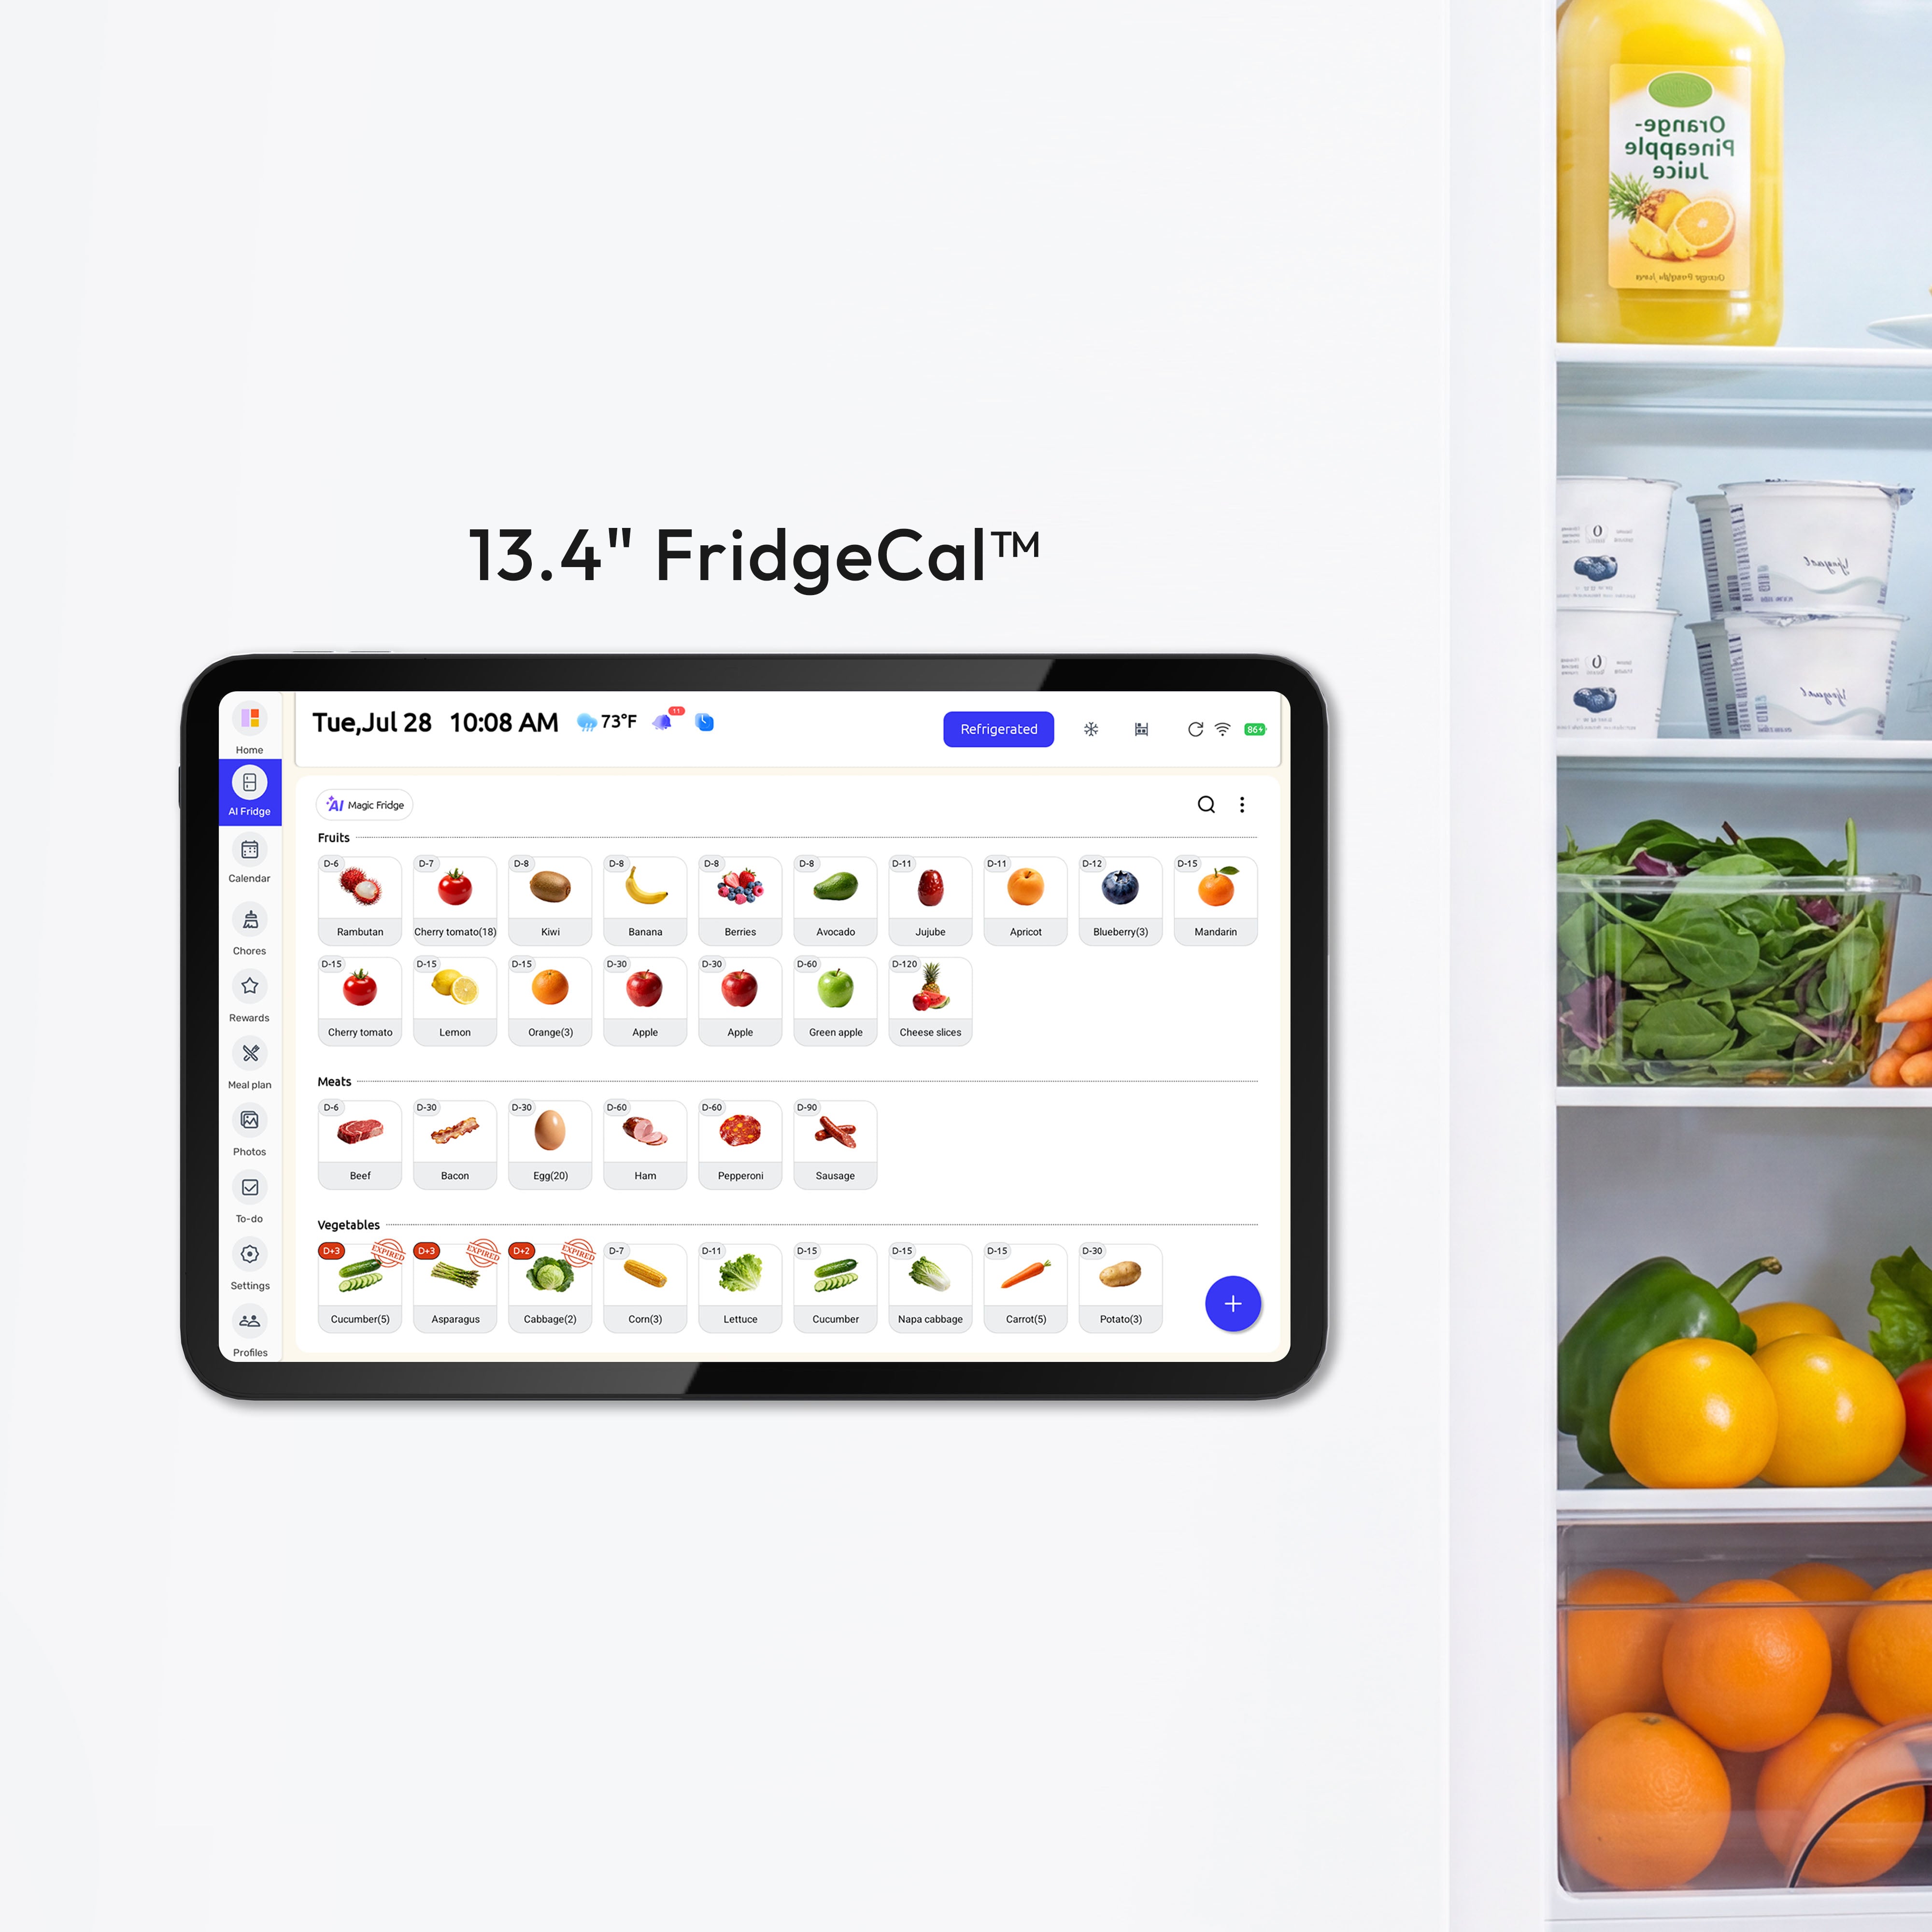
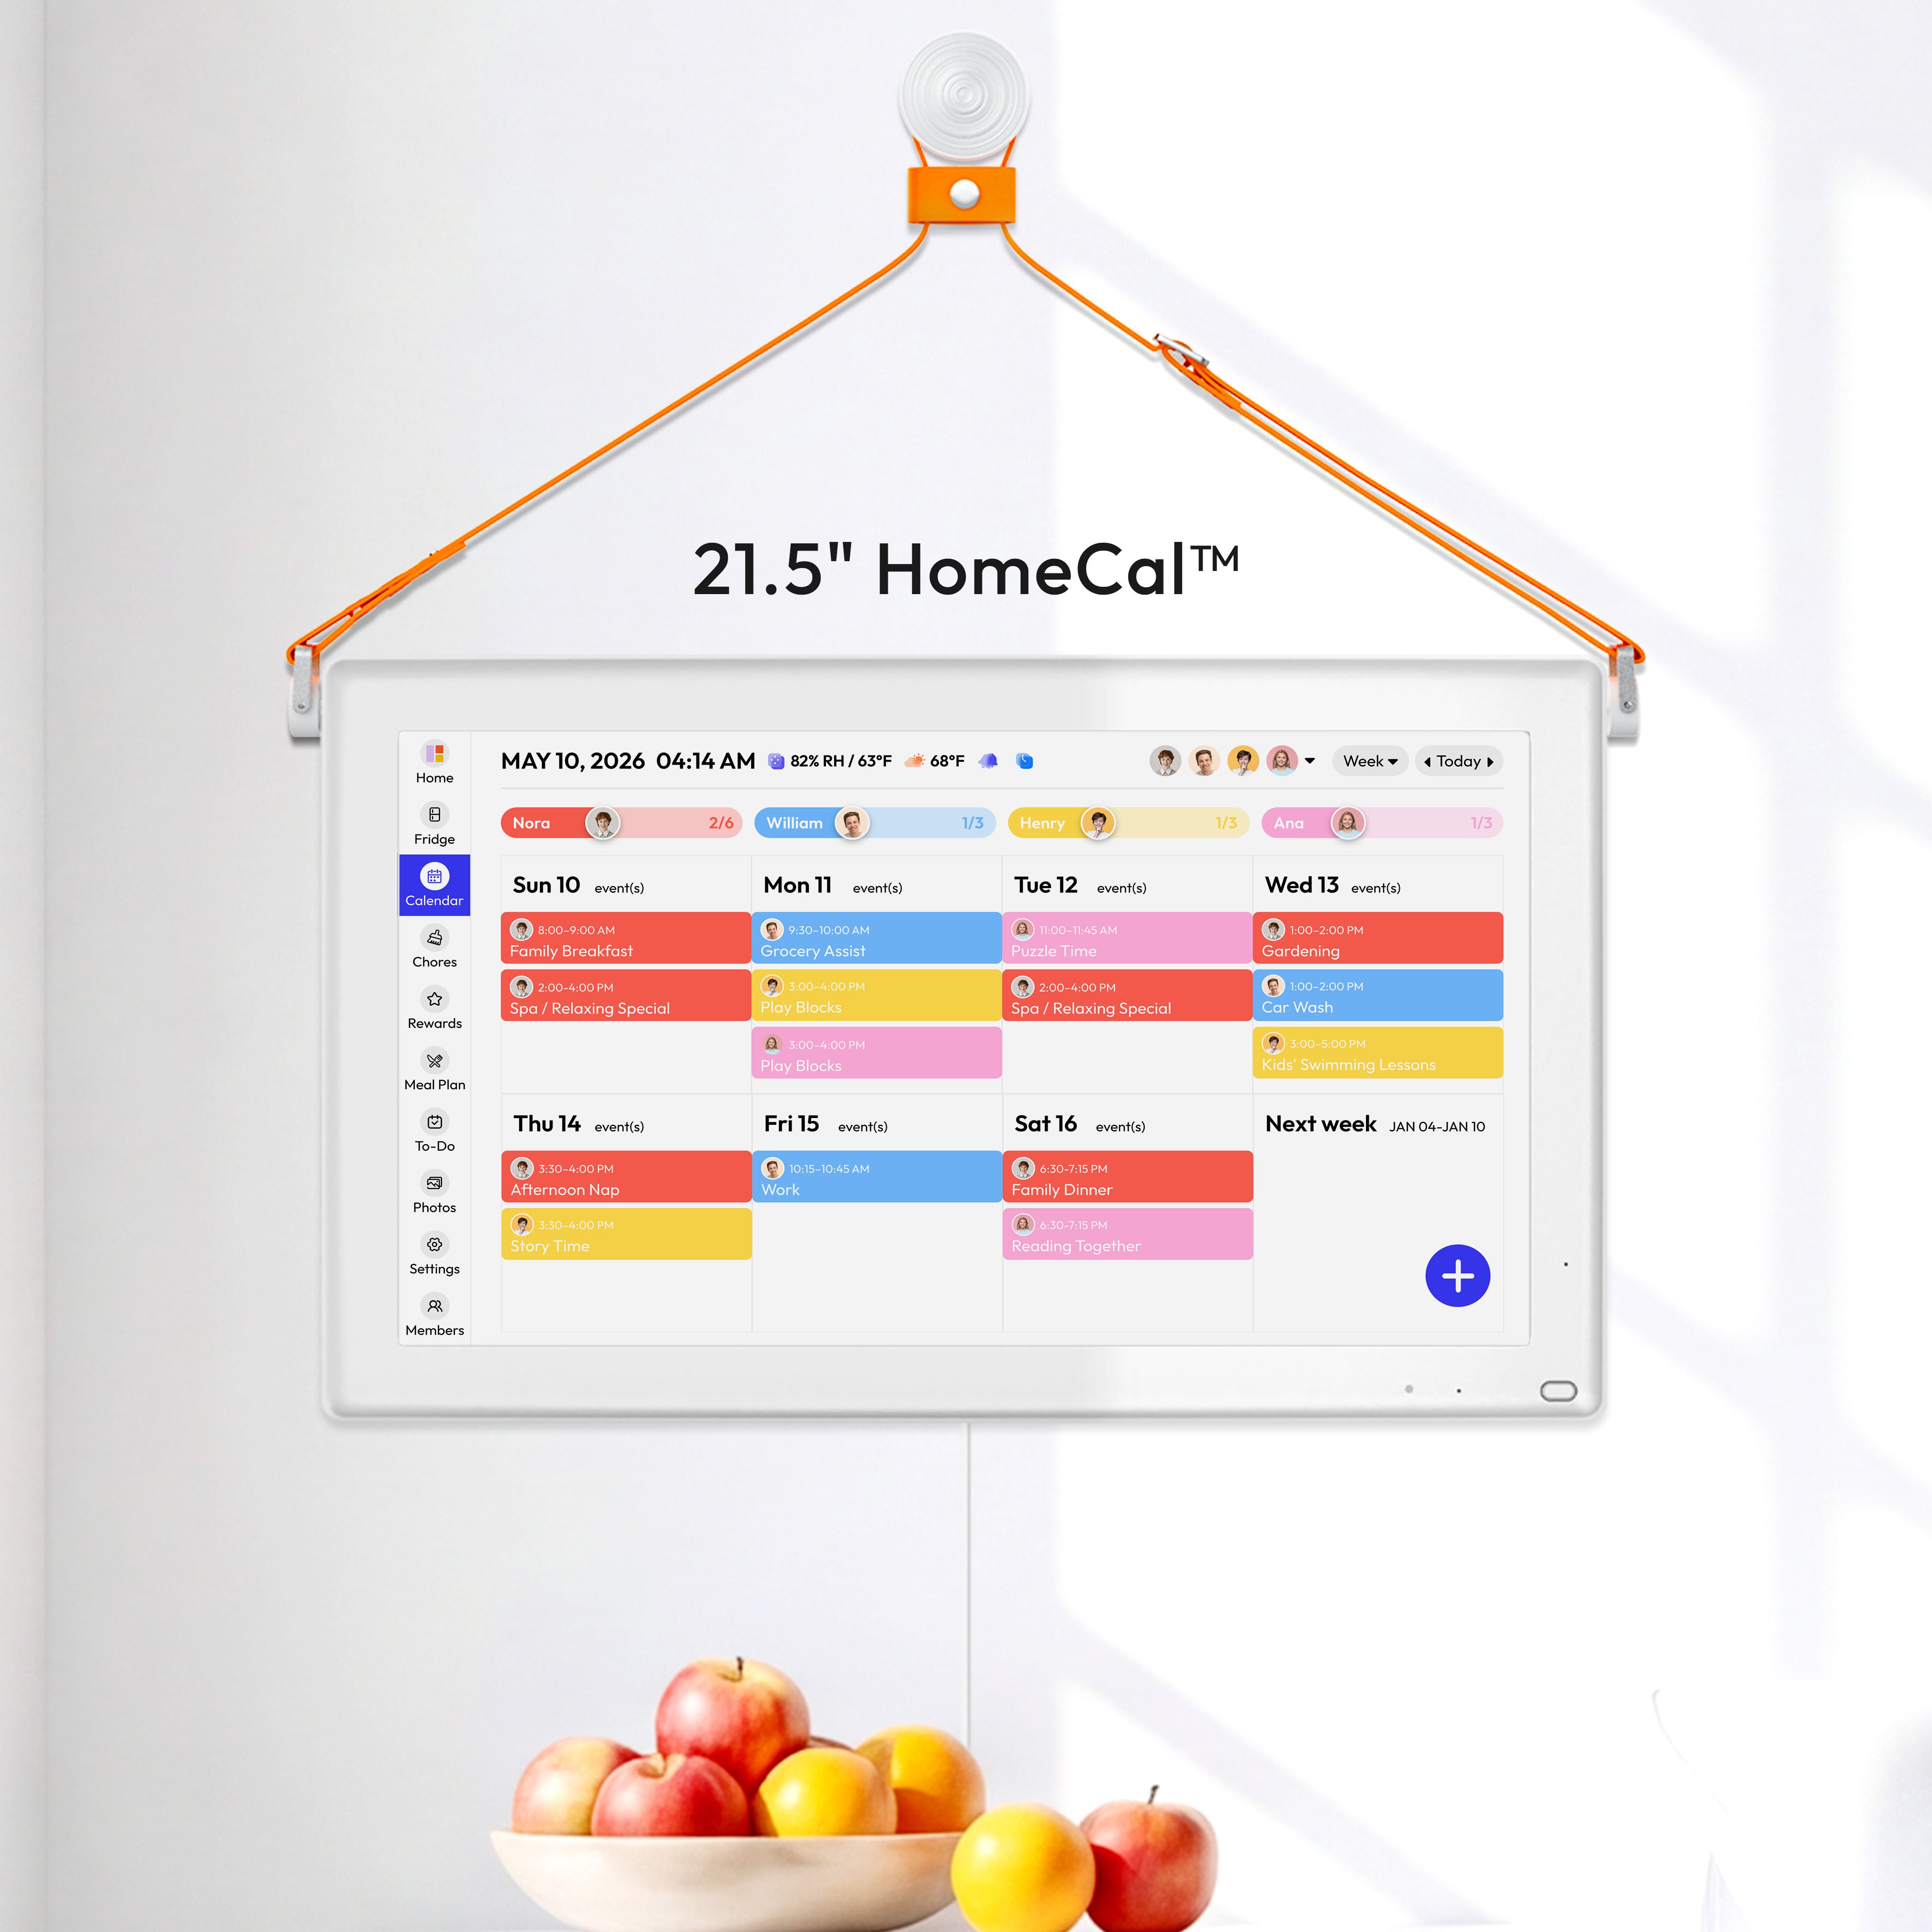
A a company works well as the shared weekly-view hub when the kitchen wall is the main place everyone checks schedules, while a a company is a better fit for households that want the meal plan, grocery list, and leftover notes where food decisions happen and only secondarily need to save wall space. The most durable setup is usually hybrid: keep the wall visible and simple, then let the shared app hold the detailed information, alerts, and schedule changes. In practice, that means the wall shows the week at a glance, and phones carry appointment addresses, notifications, and last-minute updates.

For a starter build, stay lean. A dry-erase calendar, 3-pocket file sorter, labeled key hooks, bulletin board, and a small meal-planning section are enough for most homes. A baseline version can stay in a lean starter-budget range, while custom built-ins usually move the project into a much higher tier as remodeling costs rise once carpentry or finish work is involved. Start with the minimum system that solves today’s friction, then upgrade only after 2 to 3 weeks of real use.
A practical starter kit
Component |
Job |
Typical starting point |
Monthly or weekly calendar |
Shared visibility for appointments and activities |
Dry-erase board or digital display |
Paper sorter |
Captures forms, mail, bills, and school notices |
3 to 5 labeled pockets |
Key and grab hooks |
Reduces morning searching |
One per family member plus one spare |
Meal-planning area |
Connects dinner, groceries, and leftovers |
Weekly menu plus shopping list |
Notes board |
Holds reminders, invitations, and temporary items |
Cork, magnetic, or whiteboard surface |
Quick setup templates
If your household does not match the default family-of-four setup, use a smaller or more accessible version of the same system. AARP's HomeFit kitchen storage guidance is a useful reminder to keep everyday items within easy reach and reserve higher storage for occasional-use items.
Household |
Minimum components |
Preferred placement |
Budget approach |
Small-space solo or couple |
Fridge or slim weekly calendar, one mail pocket, two hooks, grocery list pad |
Side of the fridge or a narrow wall between the entry and kitchen |
Lowest-cost starter |
Dual-working family with kids |
Shared calendar, 3- to 5-pocket sorter, one hook per person, meal board, school-notes area |
Mudroom, kitchen pass-through, or the hall between the kitchen and main entry |
Mid-range setup with room to expand |
Accessibility-first household |
Large-print calendar, easy-reach sorter, clearly labeled hooks, simple meal board |
Bright daily path with key items mounted lower as needed and high storage reserved for backup supplies |
Put budget toward reach and visibility before extra accessories |
Variant Layouts for Nonstandard Homes
In apartments and hallways, keep the setup shallow and off the floor so it helps without narrowing the path; the Access Board's Chapter 3 guidance on clear floor space is a useful check before you add bins, stools, or deep pockets.
Template |
Minimum components |
Best placement |
Advantage |
Tradeoff |
Sample cost band |
Small-space wall or fridge setup |
Slim weekly calendar, one mail pocket, two hooks, magnetic grocery pad |
Fridge side, pantry end panel, or a 16- to 24-inch wall strip by the entry |
Uses existing vertical surfaces and keeps the footprint minimal |
Limited room for bulky paper or multiple backpacks |
Lowest-cost |
Long-hallway layout |
Narrow calendar, shallow sorter, low-profile hooks, one charging shelf |
One uninterrupted wall section near the kitchen end of the hall |
Captures traffic without adding floor clutter |
Requires strict limits so the wall does not sprawl down the hallway |
Low to moderate |
Multi-entry split-drop system |
One shared calendar plus two mini drop zones with hooks or paper pockets |
Main calendar at the kitchen hub, small landing zones at the front and garage doors |
Cuts down on duplicate paper piles at multiple doors |
Needs a weekly reset so both drop points stay synced |
Moderate |
Digital-first or hybrid setup |
Shared app, compact wall calendar or whiteboard, charger, one paper inbox |
Near the main charging point or the side of the fridge |
Works well for households that live in phone reminders and shared apps |
Loses value fast if the device is not charged or the wall view is never updated |
Moderate to higher |
Lay It Out Like a Workflow, Not a Gallery
The strongest layouts follow a left-to-right or top-to-bottom workflow: capture, plan, launch. Capture is where mail, permission slips, and receipts land. Plan is where the calendar, weekly menu, and task board live. Launch is where keys, bags, chargers, and grab-and-go reminders sit. When the layout follows the family’s real sequence, the wall does not need to be large to be effective.

A simple zone model usually works better than a decorative collage:
Zone |
What goes there |
Why it works |
Top zone |
Bulletin board, seasonal reminders, school flyers |
Keeps reference items visible but out of the main work area |
Center zone |
Calendar, meal plan, to-do list |
Puts the high-value information at eye level |
Side or lower zone |
File pockets, grocery pad, hooks, chargers |
Supports quick daily actions without blocking the calendar |
For families with kids, routine lists deserve their own space. Younger children often follow morning and after-school checklists better when the steps are visible instead of repeated out loud. A picture-based routine for younger kids and a text checklist for older kids keeps the command center tied to behavior, not just information. This is also where chore cards, sports packing reminders, and “what leaves the house today” notes earn their place.
Connect It to Meal Planning and Inventory Flow
Most food date labels indicate quality, not safety, so the meal-planning section should work as a labeling and decision system, not as a substitute for detailed storage rules. A better setup is to mark three next steps directly on the board: cook this week, freeze for later, or replace, then keep a small leftover tracker and shopping list beside that note so fridge decisions happen in one place.
Detailed food-storage rules are better kept in reference material than on the command wall. For organization, a weekly pantry rotation, opened-date note, and grocery-list reset are usually enough; item-specific guidance can stay in the background through the cold-food storage chart, a safe home food storage routine, and a first-in, first-out pantry system.
Build It in Two Weeks, Then Simplify
Week 1 should be about testing and setup, not perfection. Choose two possible locations, test them, decide whether your household needs a wall display, fridge display, or whiteboard, and run physical and digital calendars in parallel for one week. That overlap quickly shows whether people check the wall naturally, whether color-coding helps, and whether the meal board needs a daily or weekly format.

Before mounting, have the adult who checks the center most often stand naturally and mark eye level with painter's tape; OSHA monitor guidance keeps the top line at or below eye level to reduce awkward neck posture, and the same principle works well for a wall calendar or meal board.
For households that also need seated access, keep the most-used writing and touch points inside the accessible reach ranges already noted above.
Five-day pilot checklist
- Use the command center for every incoming paper, receipt, permission slip, and mail piece for 5 days.
- Check the calendar at the first departure of the day and again before dinner for 5 days.
- Hang keys, bags, and lanyards only on the assigned hooks for 5 days.
- Update the meal board or grocery list immediately when dinner plans change for 5 days.
- Mark every item that lands somewhere else so you can see what the center failed to capture.
- At the end of Day 5, remove or relocate any component nobody touched.
5-day observation log
Day |
Natural stops at the center |
Paper left elsewhere |
Time to find the needed item |
Charger used? |
Component moved? |
Friction note |
1 |
||||||
2 |
||||||
3 |
||||||
4 |
||||||
5 |
Week 2 is for installation and labeling. Hang the largest item first, usually the calendar, then add the paper sorter, hooks, and meal-planning section around it. Label every pocket and hook clearly. Families lose momentum when the wall looks polished but does not tell anyone where keys, forms, lunch money, or dinner notes actually belong.
The most common failure points are predictable: too many components, too much paper on display, no weekly reset, and no child involvement. The fix is equally predictable. Keep only active items visible, refresh the center in about 5 minutes each Sunday, and assign each family member one small responsibility, such as updating sports times, moving routine cards, or adding grocery requests. A command center becomes sustainable when it distributes effort instead of depending on one person to remember everything.
Quick fixes
- Hooks too high: lower the daily-use hooks first and keep only backup or guest hooks above them.
- Paper pockets jamming: split active paper into simple categories such as today, this week, and to file so one pocket does not hold every document type.
- Board ignored: cut the display back to the calendar, one paper-capture zone, and one meal list until the wall earns more components.
- Charging friction: move the charger into the launch zone, use a shorter cable or dock, and label that spot so devices return there by habit.
Practical Next Steps
A command center should reduce decision fatigue, not become another decorating project to maintain. If you build it around real traffic patterns, visible calendar habits, and a meal-planning rhythm that includes clear leftovers and grocery cues, it becomes the household’s operating system rather than another wall feature.
Action checklist
- Measure a 3- to 4-foot area near the kitchen, mudroom, or main entry used every day.
- Test two candidate spots for 3 to 5 days and count how many times the family naturally uses each one.
- Install only the core pieces first: calendar, paper sorter, key hooks, and meal-planning area.
- Run the wall calendar and shared phone calendar together for one week before committing to one format.
- Add a leftover tracker with “made on” dates and “cook, freeze, or replace” notes to connect meal planning with fridge visibility.
- Reset the system every Sunday in 5 minutes: update the week, clear old papers, rotate pantry items, and refresh the grocery list.
Important Note
The planning templates and organizational systems provided here are intended as adaptable blueprints. Every family’s needs, dietary requirements, and physical capabilities are different. These suggestions are organizational ideas, not medical, nutrition, or food-safety advice; use official food safety guidance and professional advice when health or accessibility needs require it. We recommend tailoring these schedules to your specific household dynamics. Results from productivity or meal-planning systems may vary, and consistency remains the responsibility of the individual user.
References
- Virginia Tech food date label guidance
- New Mexico State home food storage guidance
- Texas A&M safe home food storage guidance
- FoodSafety.gov cold food storage charts
- Everblog 21.5-inch wall calendar
- Everblog 13.4-inch fridge calendar
- U.S. Access Board operable parts guidance
- AARP HomeFit kitchen storage
- AARP home remodeling costs
- ADA Chapter 3 building blocks
- OSHA monitor placement guidance
- FoodSafety.gov 4 steps to food safety


